There Is, In Fact, a Correct Way to File Your Nails
The finer points to know about keeping your nails in shape.
I keep fancy Hermès nail files stashed in my work backpack, gym bag, and all my purses to smooth away hangnails the exact moment they start to fray. But it turns out that if you don’t know how to file your nails properly, an emery board won’t do much good, regardless of how luxurious the design might be.
And sure, filing your nails might not be rocket science, but it can be surprisingly easy to mess up. Sawing aimlessly can throw off your nail shape, rough up your nail texture, or buff away too much too fast. (I’ve learned that the hard way.)
One golden rule to follow when you have a nail file in hand: Easy does it. No matter your desired length or style—almond, square, stiletto, squoval, you name it—a little refining can be all it takes to keep your hands looking like you just left the salon.
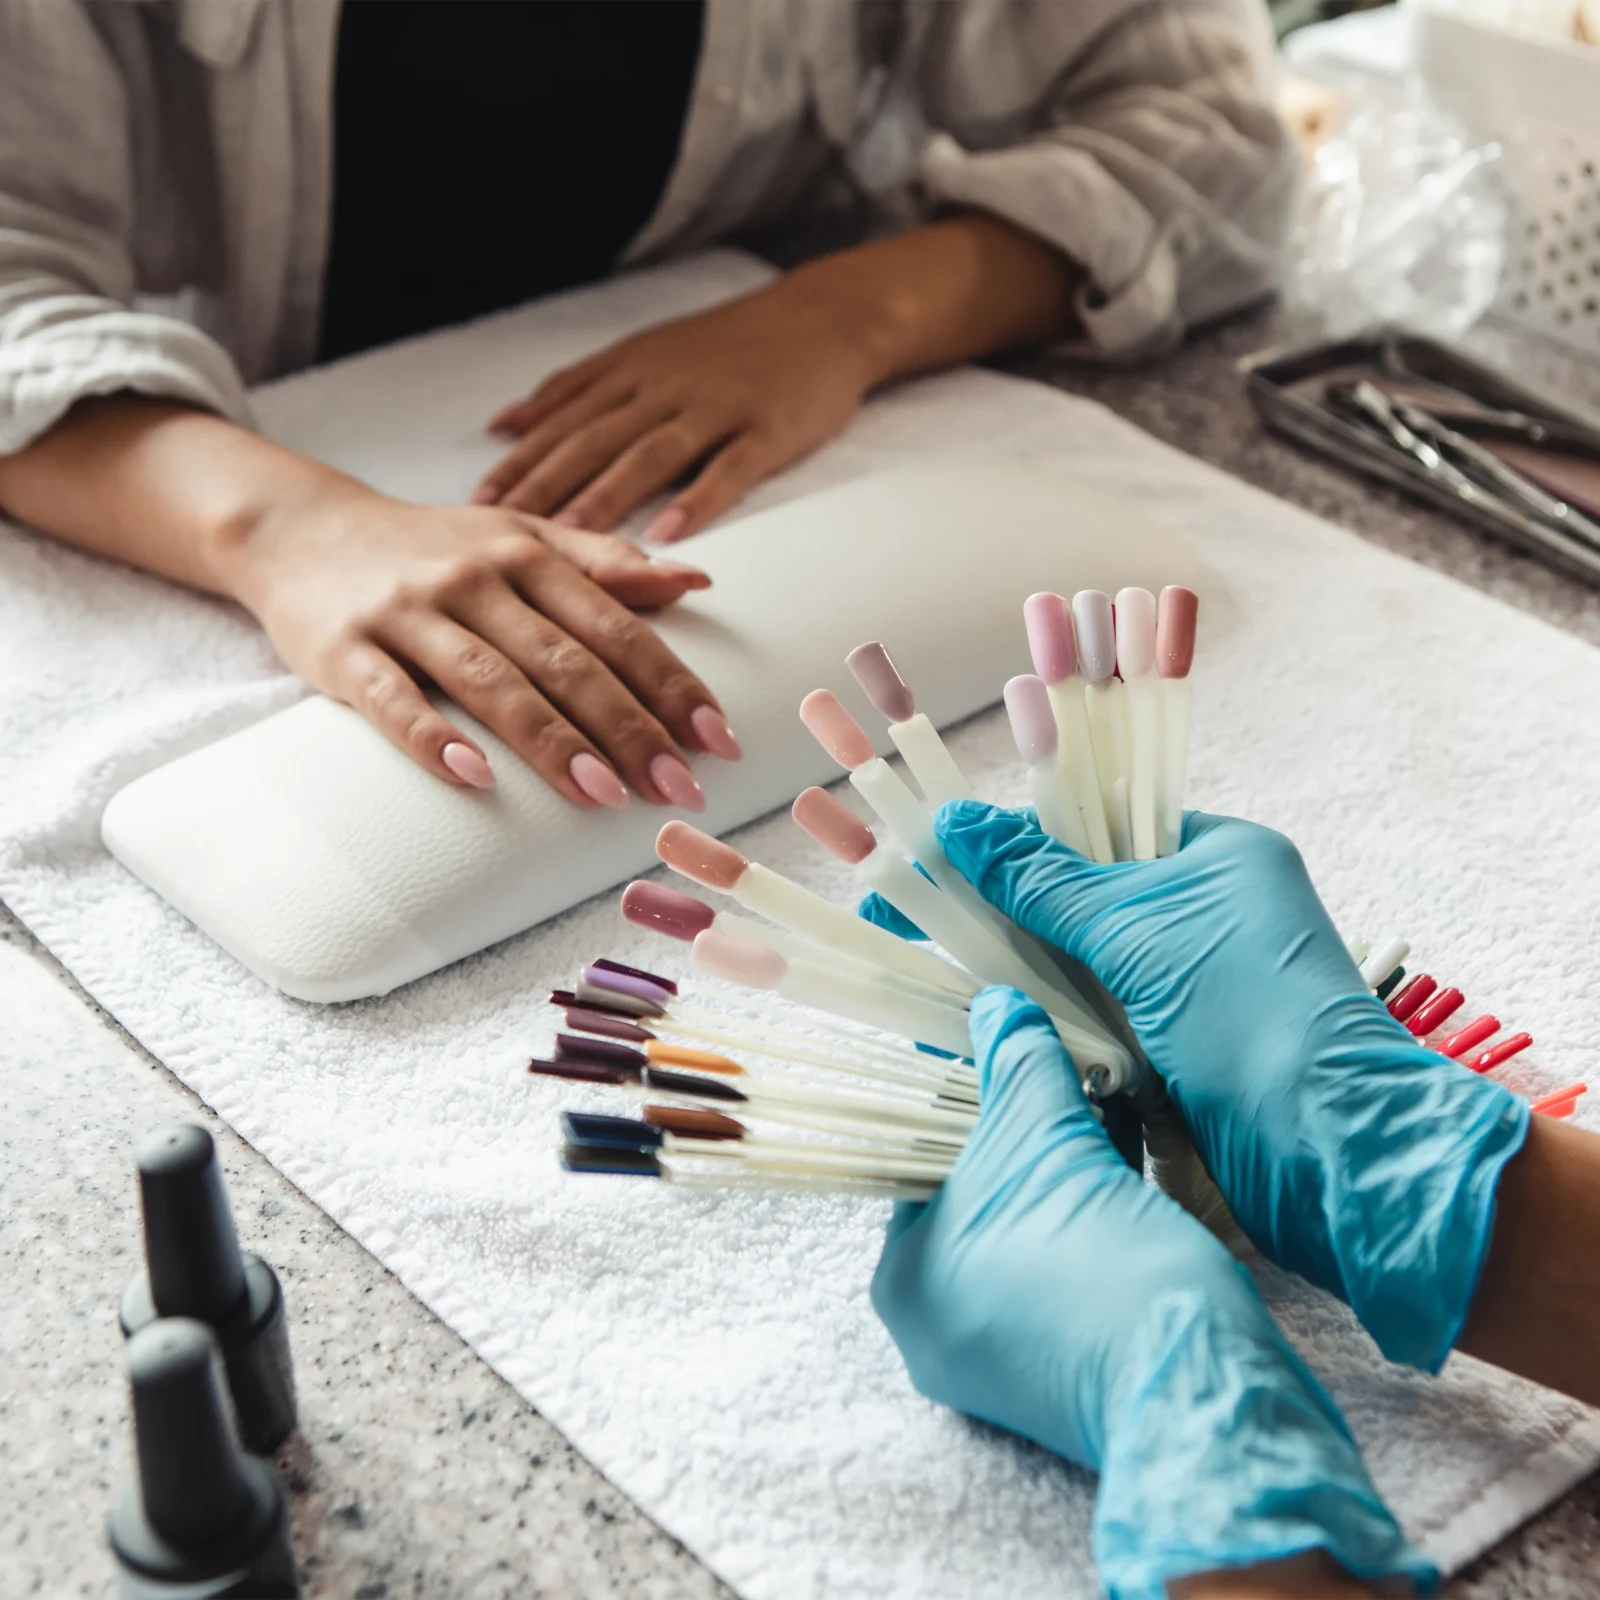
Ready to shape things up? Ahead, pro manicurists share the tips, tools, and techniques to create a solid base for an at-home manicure.
Meet the experts:
Julie Kandalec is a New York City-based nail artist.
Betina Goldstein is a New York City-based nail artist.
Miss Pop is a New York City-based nail artist.
Rita Remark is a New York City-based nail artist.
How to file your nails
1. Trim excess length.
Before you reach for a file, trim your nails with clippers to your ideal length. Julie Kandalec, a New York City-based nail artist, prefers a straight clipper for this step to create a clean slate. (Rounded clippers inherently created a more curved edge.)
The position you start clipping from matters, too. “When cutting your nails, never start in the middle,” manicurist Betina Goldstein shares. “Begin on the side and work your way across so you don’t split the nail.”
2. Choose the correct nail files.
You know how most nail files have one side that feels rougher than the other? This coarser grit will help do the heavy-duty smoothing and shaping. Grits can range from 100 to 600—the higher the number, the finer the grit.
“It’s so critical that you use the right grit file,” says Miss Pop, a nail artist based in New York City. “Using the wrong grit isn’t going to solve your problem—it’s going to create a new one.” While pros will use those rougher grits while shaping acrylics and extensions (these are often sold at drugstores), it’s best to stick to grits on the lower end of the spectrum for DIY manicures.
Sally Hansen Beauty Tools Fabulous Fingers is a set of tools that already contains a nail file.
3. File rough edges and re-shape.
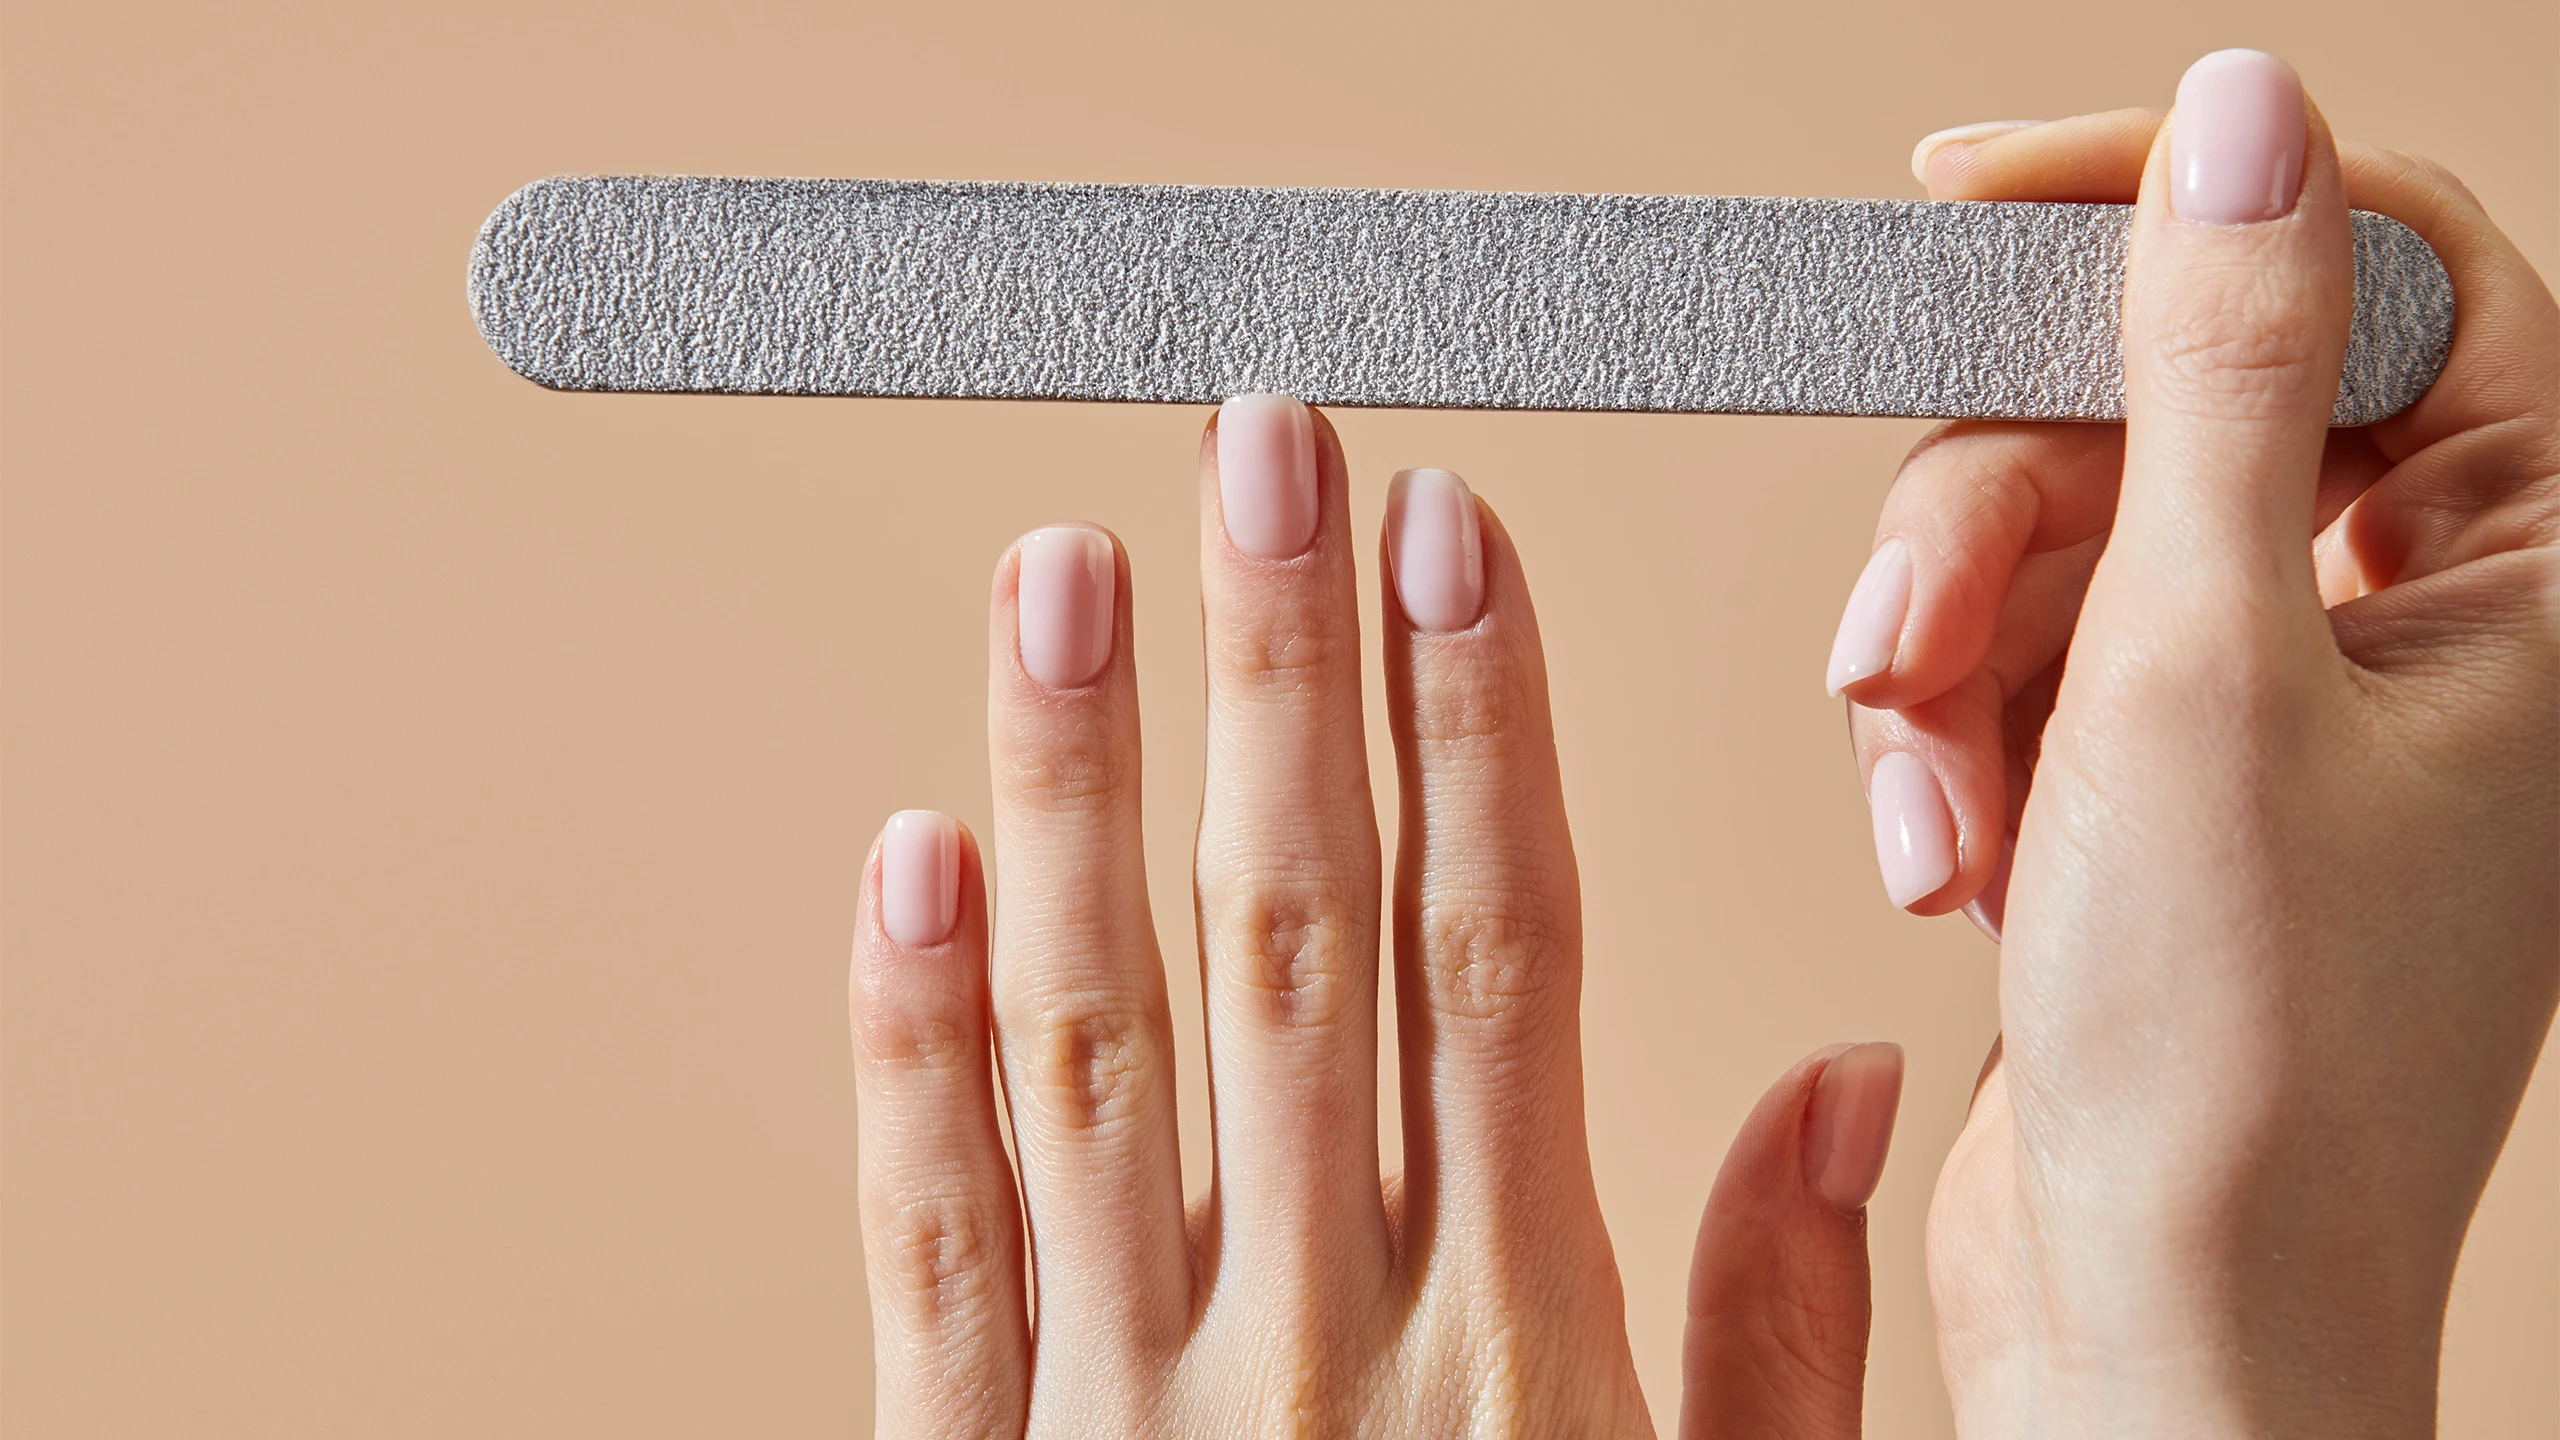
Using the coarser side of your file, Kandalec says to always work in small strokes from the outside corners to the center. (She uses a 180 grit.) File slowly using gentle pressure until you’ve reached your desired length and shape, as course-grit files can do a lot in just a few strokes. “You’re not trying to saw down your nail,” adds Miss Pop.
Shapes with sharp corners, like squares and squovals, are more forgiving, but according to New York City-based nail artist Rita Remark, working from the outside corners inward is especially helpful for sculpting rounded shapes like almond nails—without over-filing.
4. Refine with a fine or glass file.
After neutralizing sharp edges, Kandalec says to use a finer file (400 to 600 grit) to perfect and smooth nail tips and tops. “A glass nail file smooths all those little [imperfections],” she says. That goes for the entire nail surface. Kandalec will often buff the tops of the nails in short, gentle strokes, which can make polish—especially metallic lacquers—have a more seamless application.
Try Bobbie Nails Salon Pro Series Crystal Glass File Assorted.
5. Seal the free edges.
“Sometimes, when we file a lot, little bits of the nail gets stuck under the tip,” explains Remark. Removing these stubborn hangers-on will prevent snagging and fraying. Kandalec recommends using a nail buffer (try Orly GelFx Buffer) on the undersides of the nail upward to achieve this and remove any “scraggly bits” leftover from filing. Kandalec notes that while her go-to buffer is technically classified as 240 grit, it feels much finer, making it ideal for finishing touches.