There’s good heat and bad heat. Heat-styling your hair after every wash? Not-so-great heat. A blow-dryer can give you big, bouncy style, and a curling iron can truly be a magic wand, but sometimes it’s good to give your hair a little break from heat, which can damage the outer layers of your strands and cause them to look fried and frizzy. Every once in a while (or as often as you can, really), a good, old-fashioned air-dried style is just what the (hair) doctor ordered.
Air-drying doesn’t have to mean that you’re sacrificing a smooth, done-up hairstyle. If you think you look a bit like a drowned rat after air-drying your hair, it could be that you’re just not doing it right (yep—there’s more to it than just wash and go). We asked the experts how to air-dry your hair the right way, so you can give your heat styling tools a little break.
Meet the experts:
Devin Graciano is a Los Angeles-based hairstylist and chief product officer at Goldie Locks.
Samuel Eugenio Rodney is a hairstylist at Sola Salons in Lancaster, CA.
Devin Toth is a hairstylist at New York City-based Salon SCK.
Step 1: Wash your hair.
The Book of Genesis begins with clean hair in the shower. Okay, maybe not, but it should. The first step to your air-dried style is to wash your hair with a shampoo and conditioner that makes the most sense for your hair type.
For curly-hair types, look for a hydrating shampoo and conditioner to set the stage for a frizz-free style. Products with fatty oils such as coconut and argan, will nourish and smooth each strand.
Straight or thin hair will want a look with a little oomph (oils and butters can weigh hair down, especially if you don’t have a lot of natural lift). Volumizing products Kiehl’s Rice and Wheat Volumizing Shampoo and Conditioning Rinse will help add texture and bounce to lifeless hair.
Air-drying tends to leave hair a little frizzy, so if you have color- or heat-damaged hair, reach for a lightly hydrating, sulfate-free product like Kerasilk Color Protecting Shampoo and Conditioner to keep them smooth.
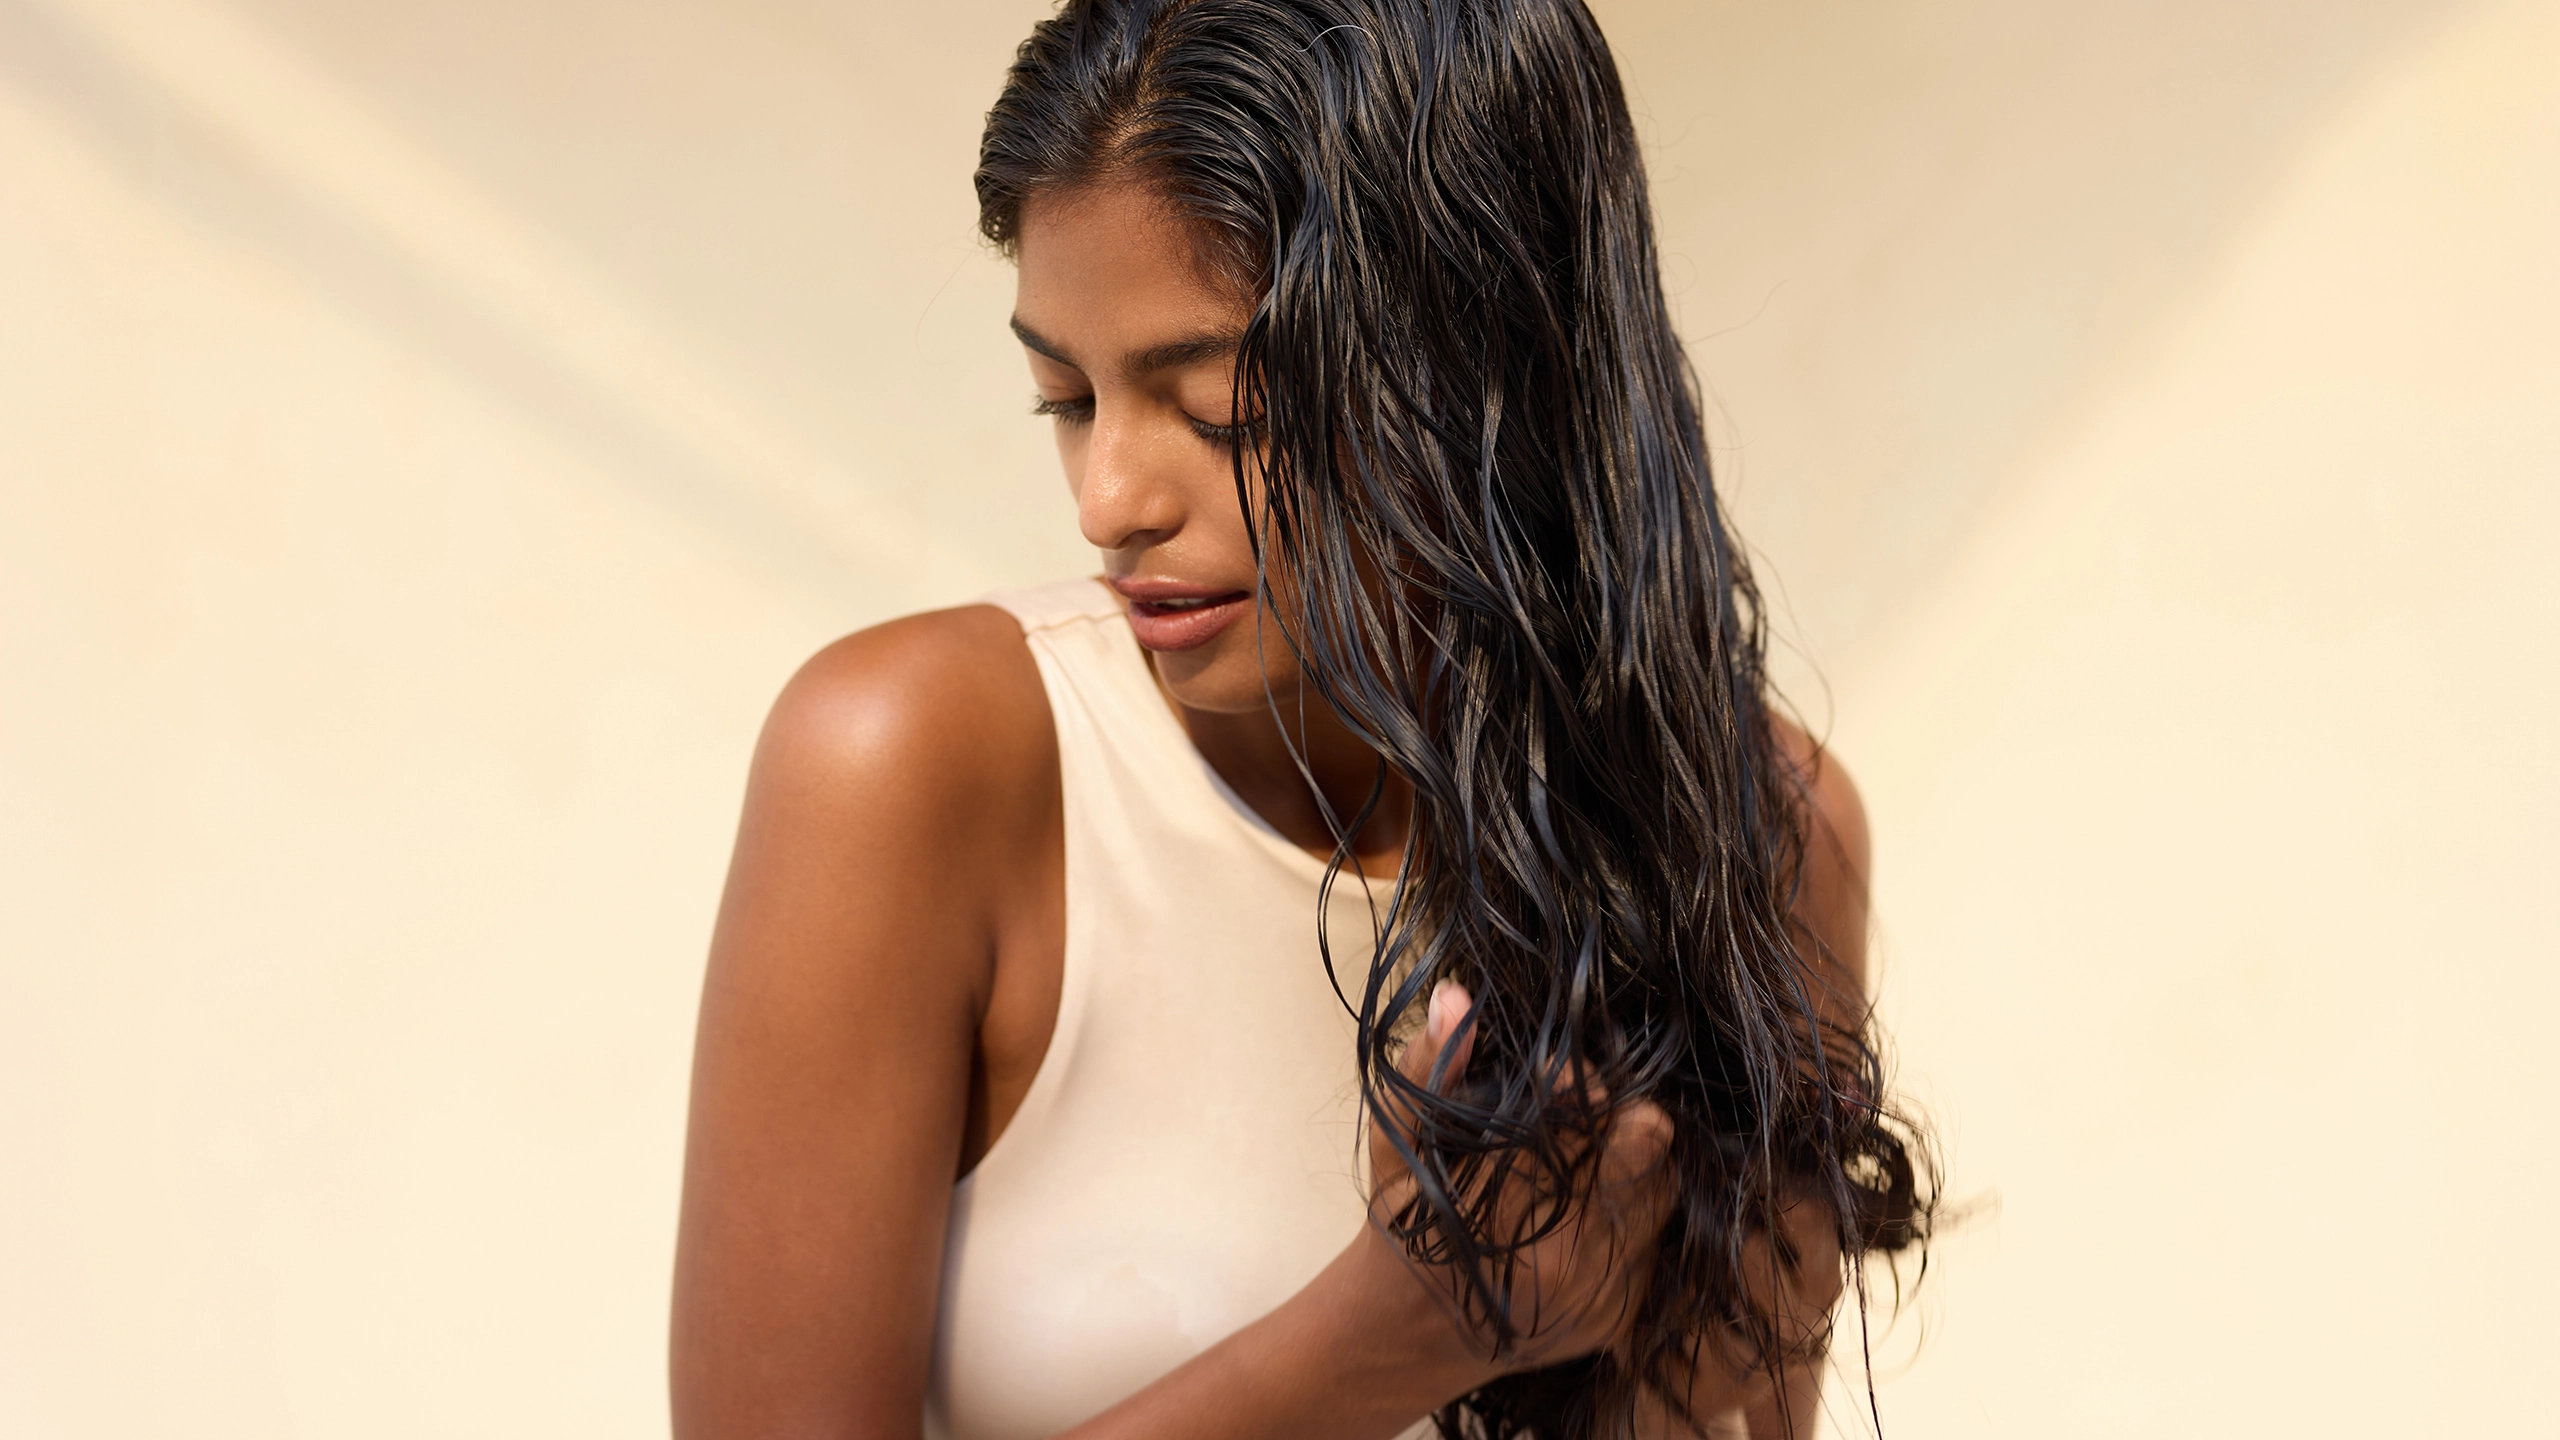
Step 2: Get rid of excess moisture.
Patience is the name of the game with air-drying, but soaking up some of the water in your hair straight out of the shower will prep it for leave-in products and speed up the process a bit. Hairstylist Devin Graciano recommends towel-drying hair and briefly hitting the roots with a blow-dryer on a cool setting to remove some water.
If you want a fully naturally dried style or don’t have a blow-dryer handy, stick with the towel alone. “Gently squeeze excess water from the hair and wrap it in a towel,” says hairstylist Samuel Eugenio Rodney. “Do not rub the towel aggressively to absorb water. This can damage the cuticle and leave your hair feeling dry and frizzy.”
Rodney prefers a microfiber towel (vs. your standard bath towel) to soak up moisture while minimizing the risk of damage. This one also has a button fastener and elastic edges to help keep it on, taking some of the origami work out of wrapping your hair.
Hairstylist Devin Toth also likes soft, cotton T-shirt fabric to soak up extra water. You can make your own wrap with an old (but clean!) shirt.
Step 3: Apply a leave-in product.
As much as the right shampoo and conditioner matters, the product(s) you put in your hair after the shower will do most of the heavy lifting for your style. What you use depends on your hair type and desired look.
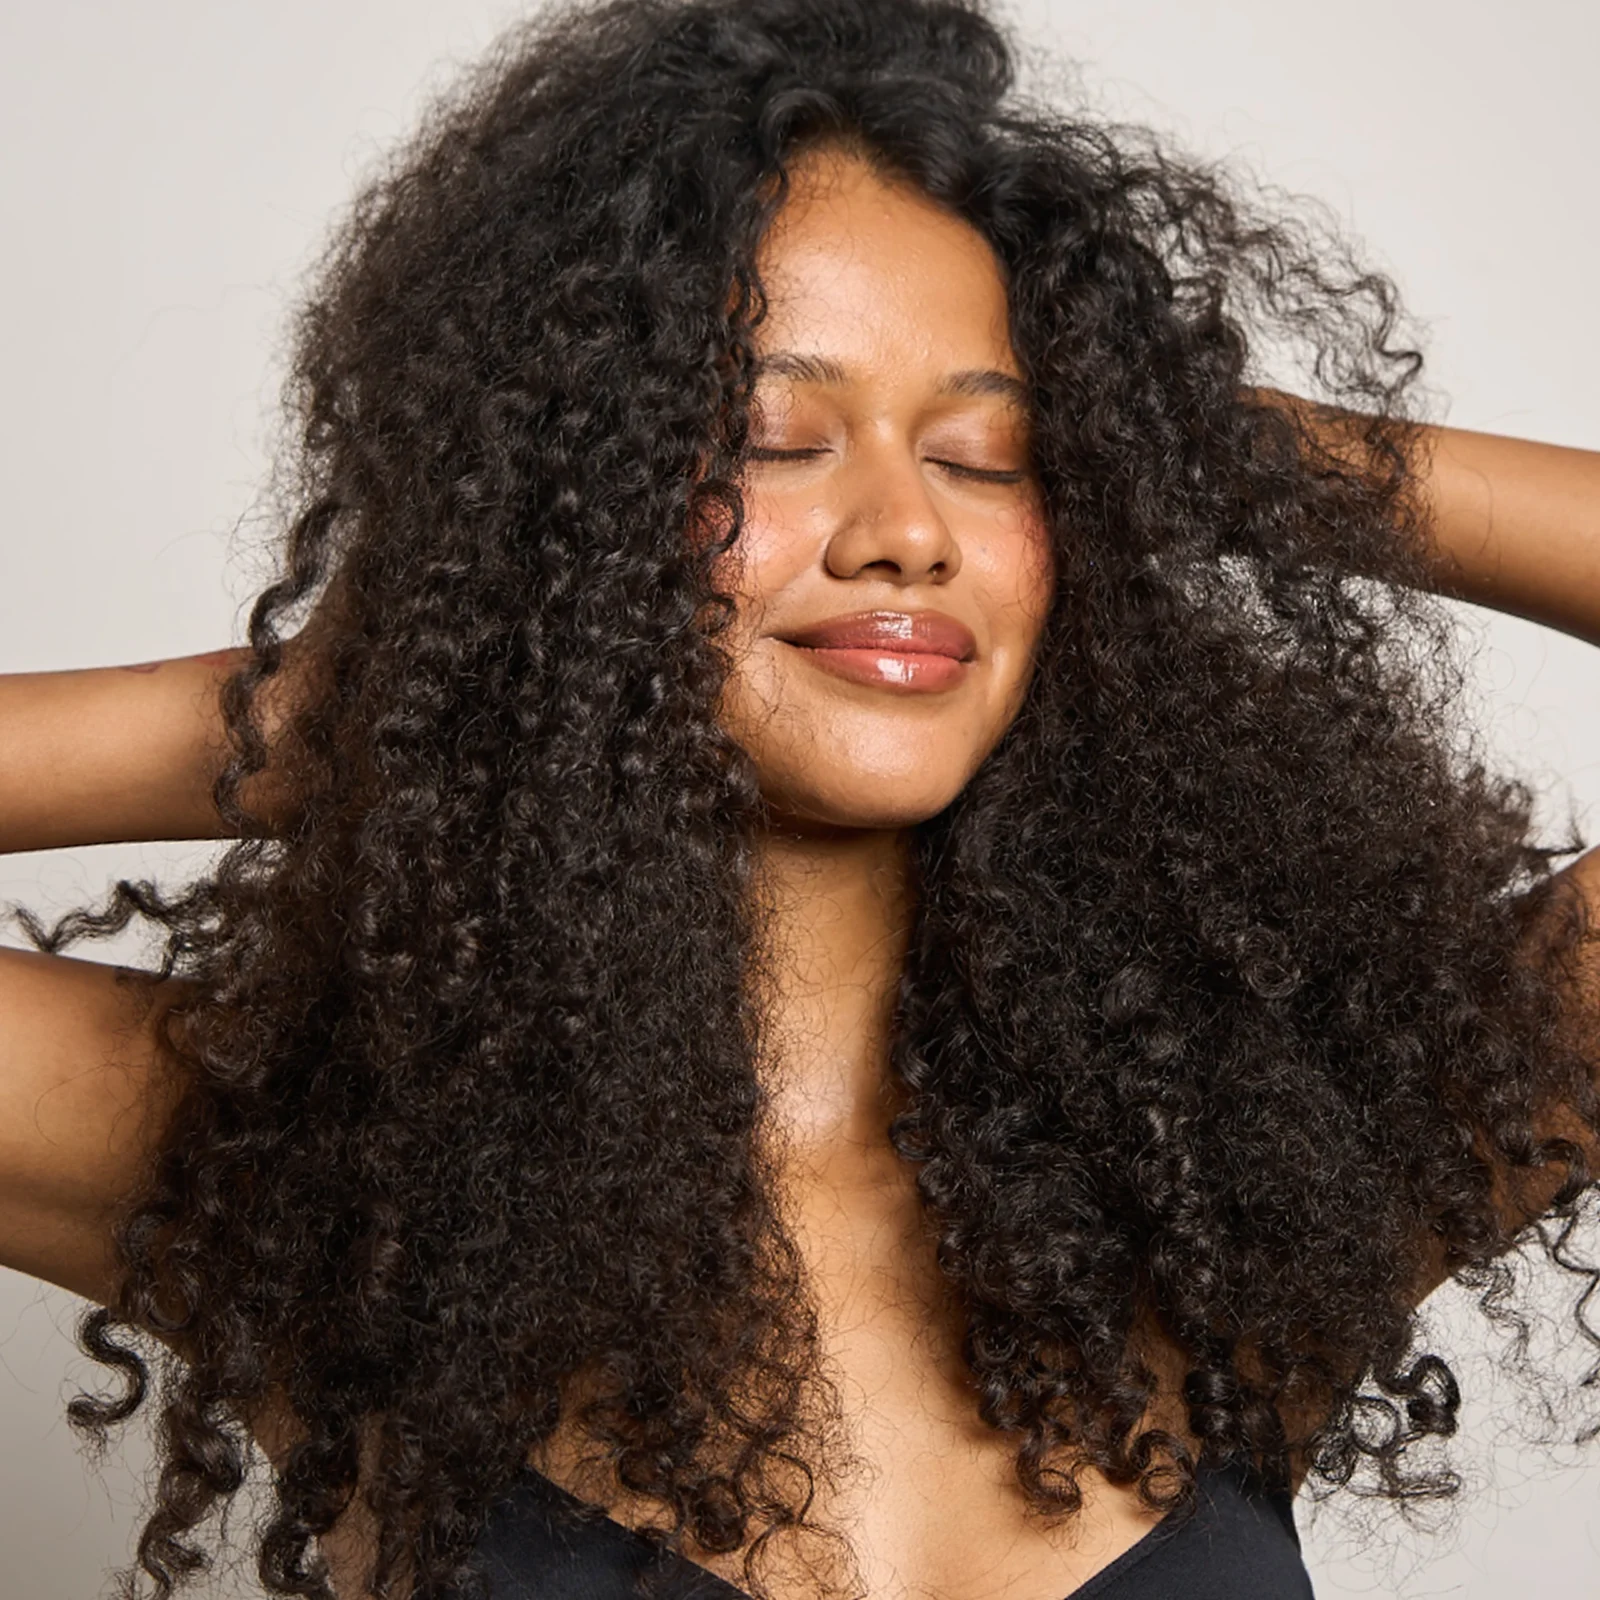
Curly-hair types should apply a product that will help to define and smooth each coil, such as Color Wow Dream Coat Supernatural Spray, a recommendation from Allure’s Curly Hair 101. If you want to further define your curls or re-twist them, look for a thicker curl cream, like AVEDA Be Curly Advanced Curl Enhancer Cream.
At this point, if you want super-defined curls or twists, Toth recommends the hair plopping method, when you gently lower your loose curls onto a T-shirt or head wrap and tie it back up until it dries (giving you extra bouncy coils). Otherwise, you can continue to step four.
Those with straight and fine hair will need a leave-in conditioner that won’t weigh down hair or make it greasy (you just washed it, after all).
Or, Toth says, you can skip the leave-in altogether. “Just find your part, put a little drop of oil such as Davines Oi Oil on your ends, and let it air-dry naturally. Some straight hair doesn’t require much assistance to fall into place.”
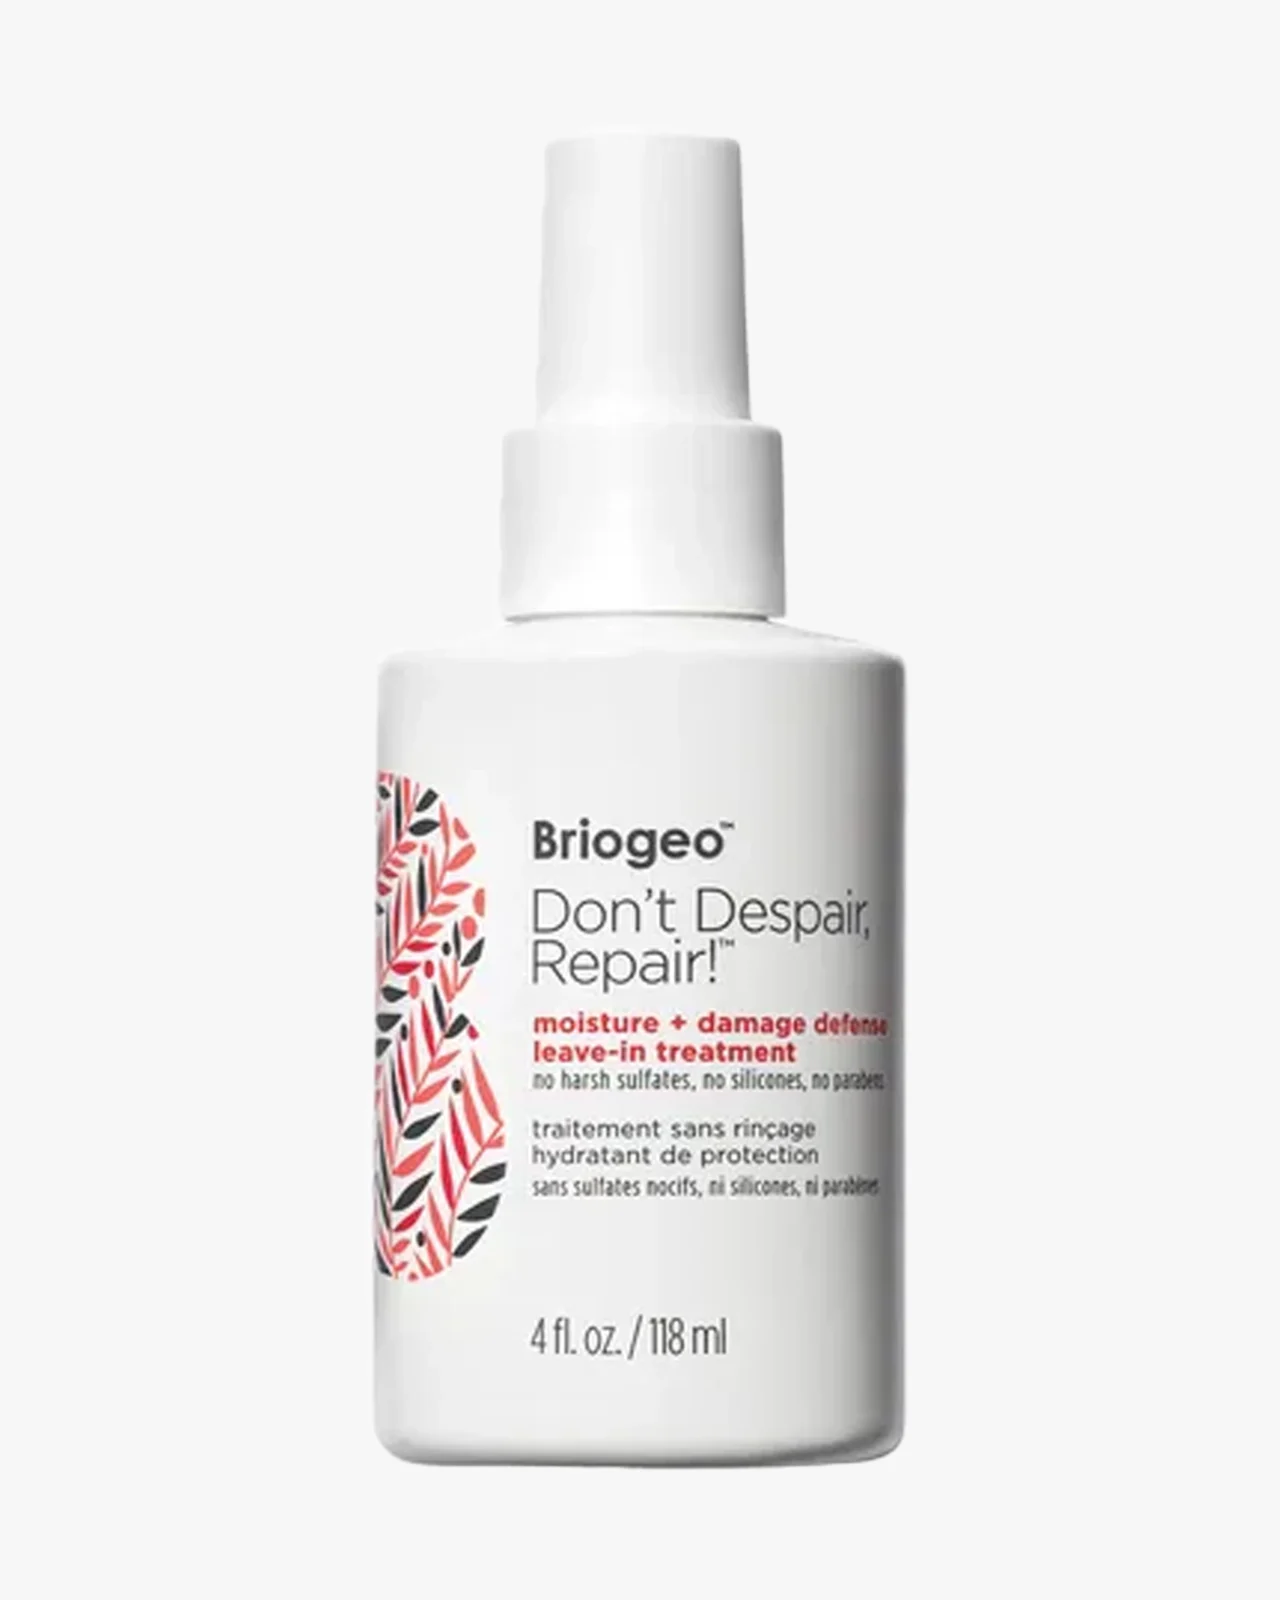
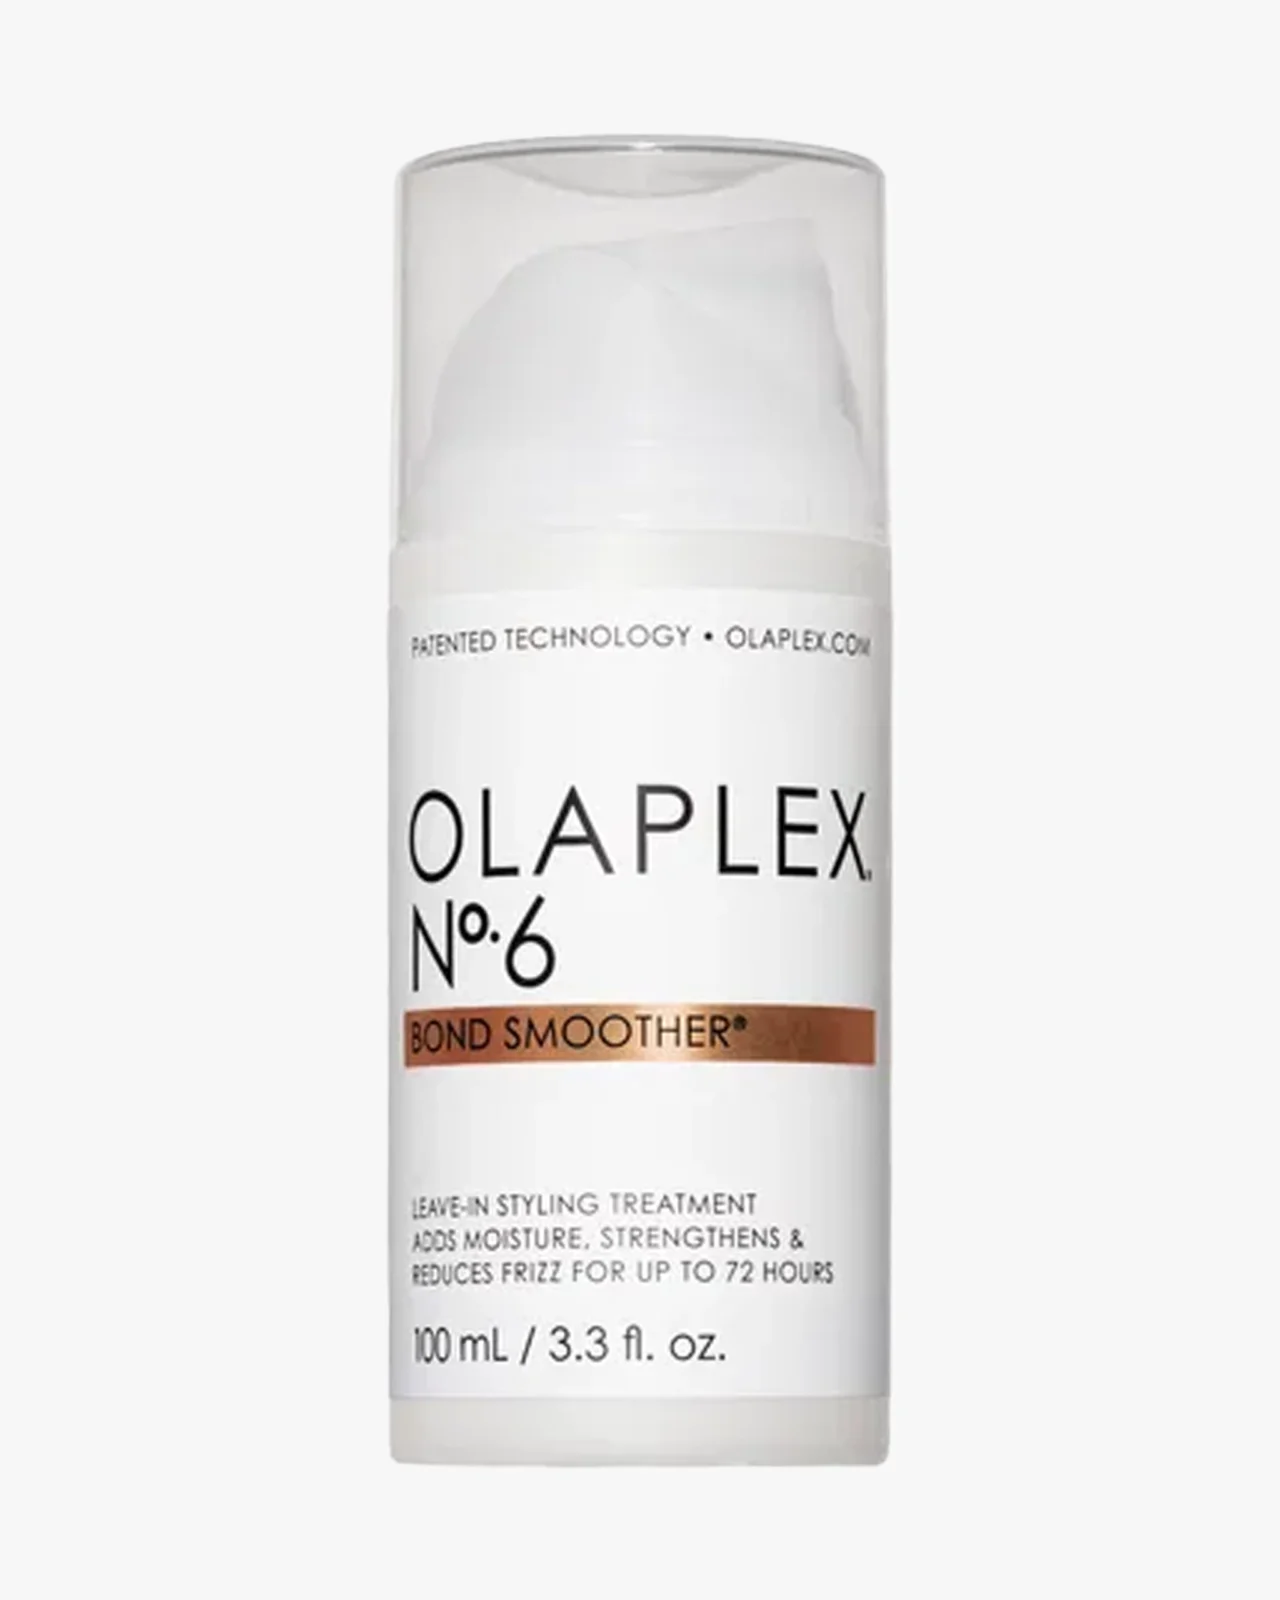
For damaged hair, it’s at this point that you’ll want to slather on something super nourishing and reparative. We like Briogeo Don’t Despair, Repair Leave-In Treatment, which has ceramides, argan, rosehip, and coconut oil to tame frizz, or Olaplex No. 6 Bond Smoother, which works to repair broken disulfide bonds.
Step 4: Wait.
And now—you guessed it—let the air do its job. That’s it, that’s the step.
How long this takes depends on how thick your hair is (thin hair may be done within the hour while thicker curls may take several hours to be fully dry), but no matter your hair type, Rodney recommends letting it be (a.k.a. don’t touch it). Disturbing or tousling the hair may cause unwanted frizz.
When your hair is dry, you can put some finishing touches on the style, such as a shine spray for a little extra glow or—for hair that dries flat and lifeless—hit the roots with Living Proof Full Dry Volume and Texture Spray to give it some movement. If you have naturally frizzy, curly, or damaged hair, you can double down on moisture by working with a styling oil through your style with your fingers.