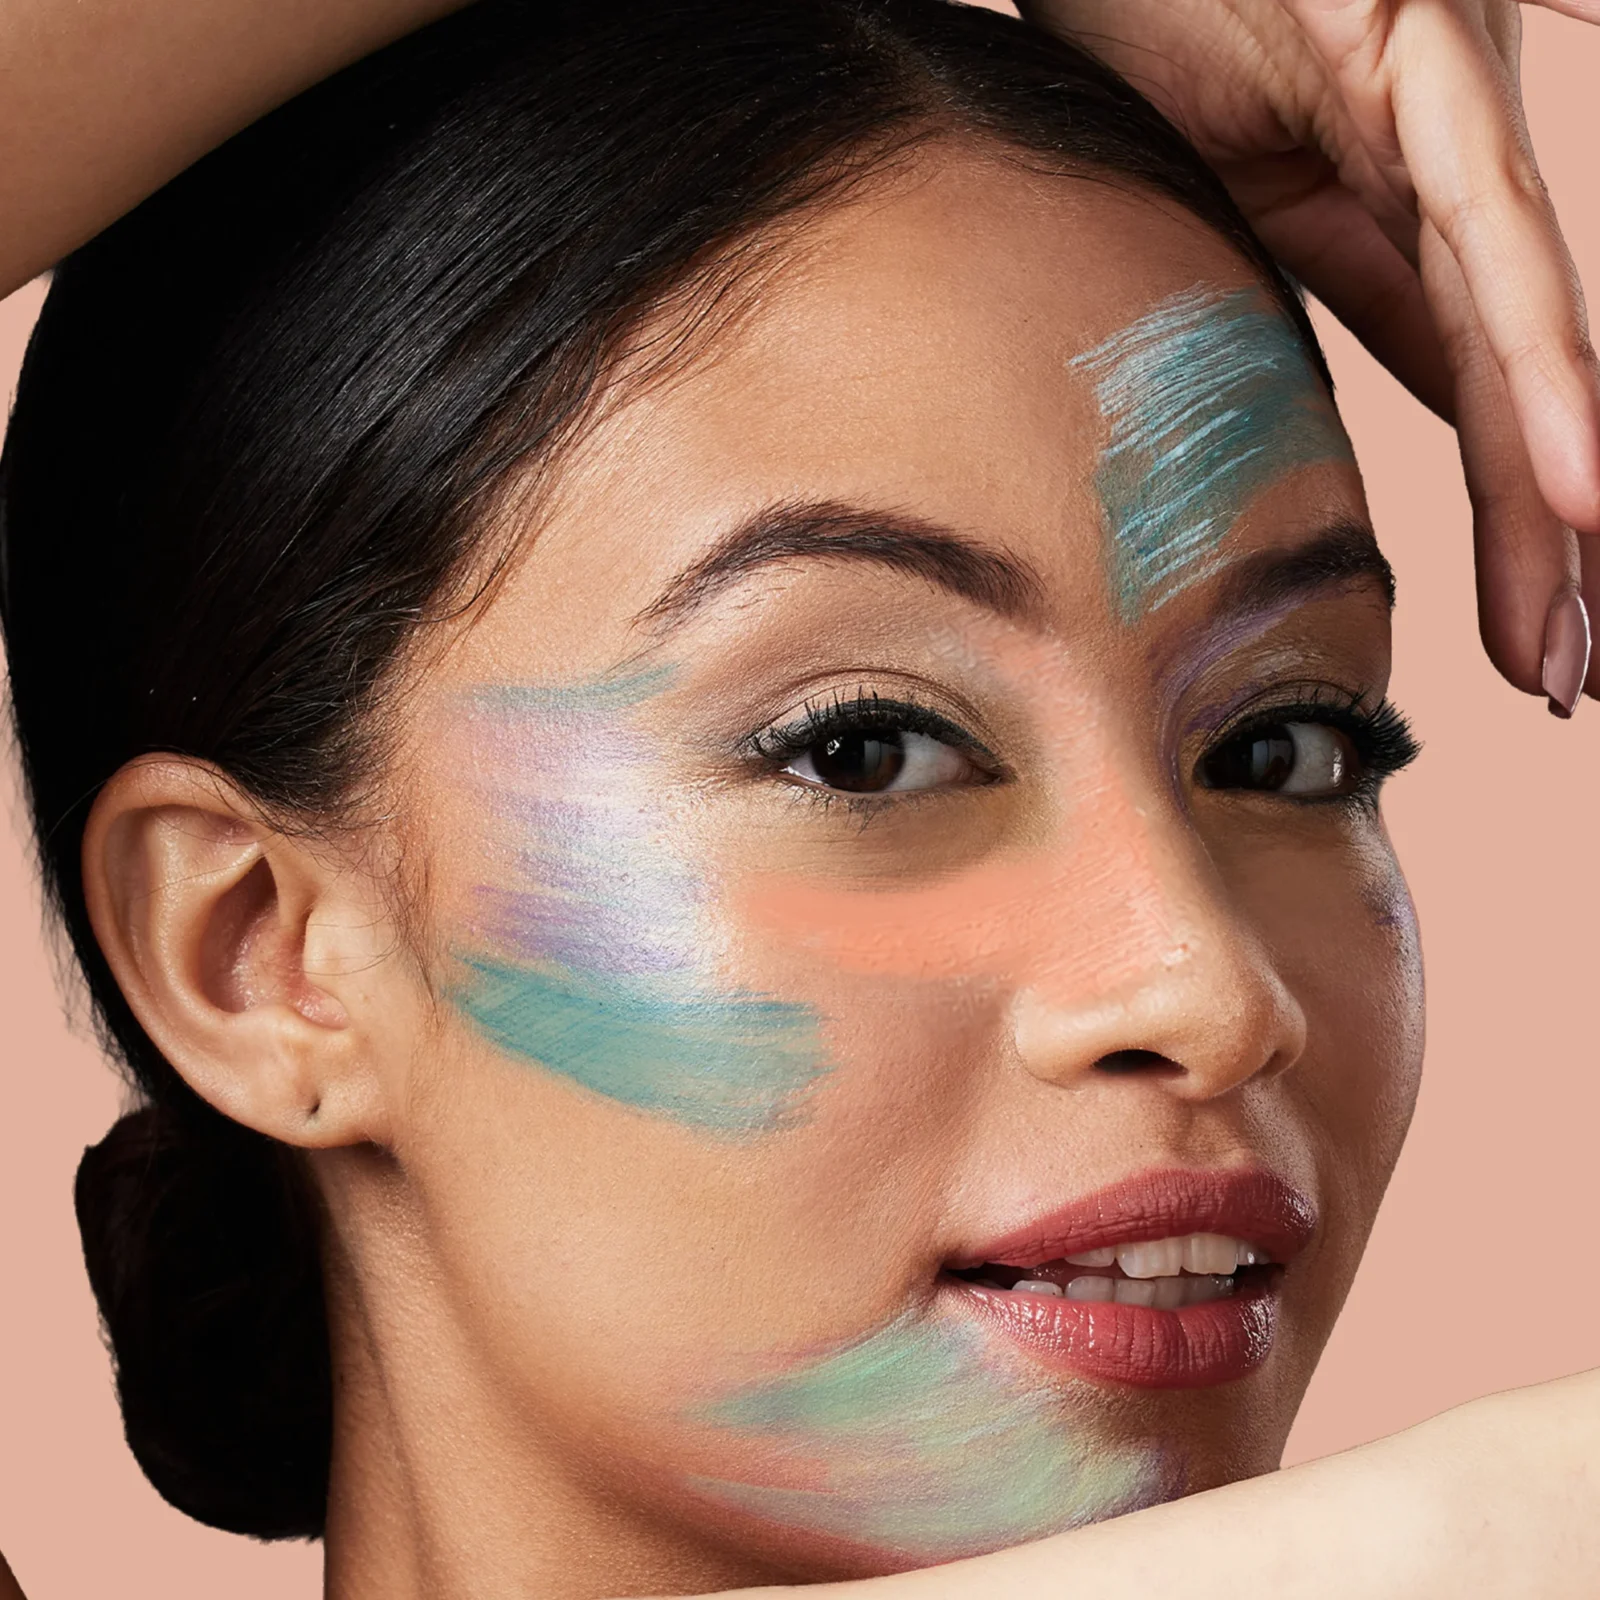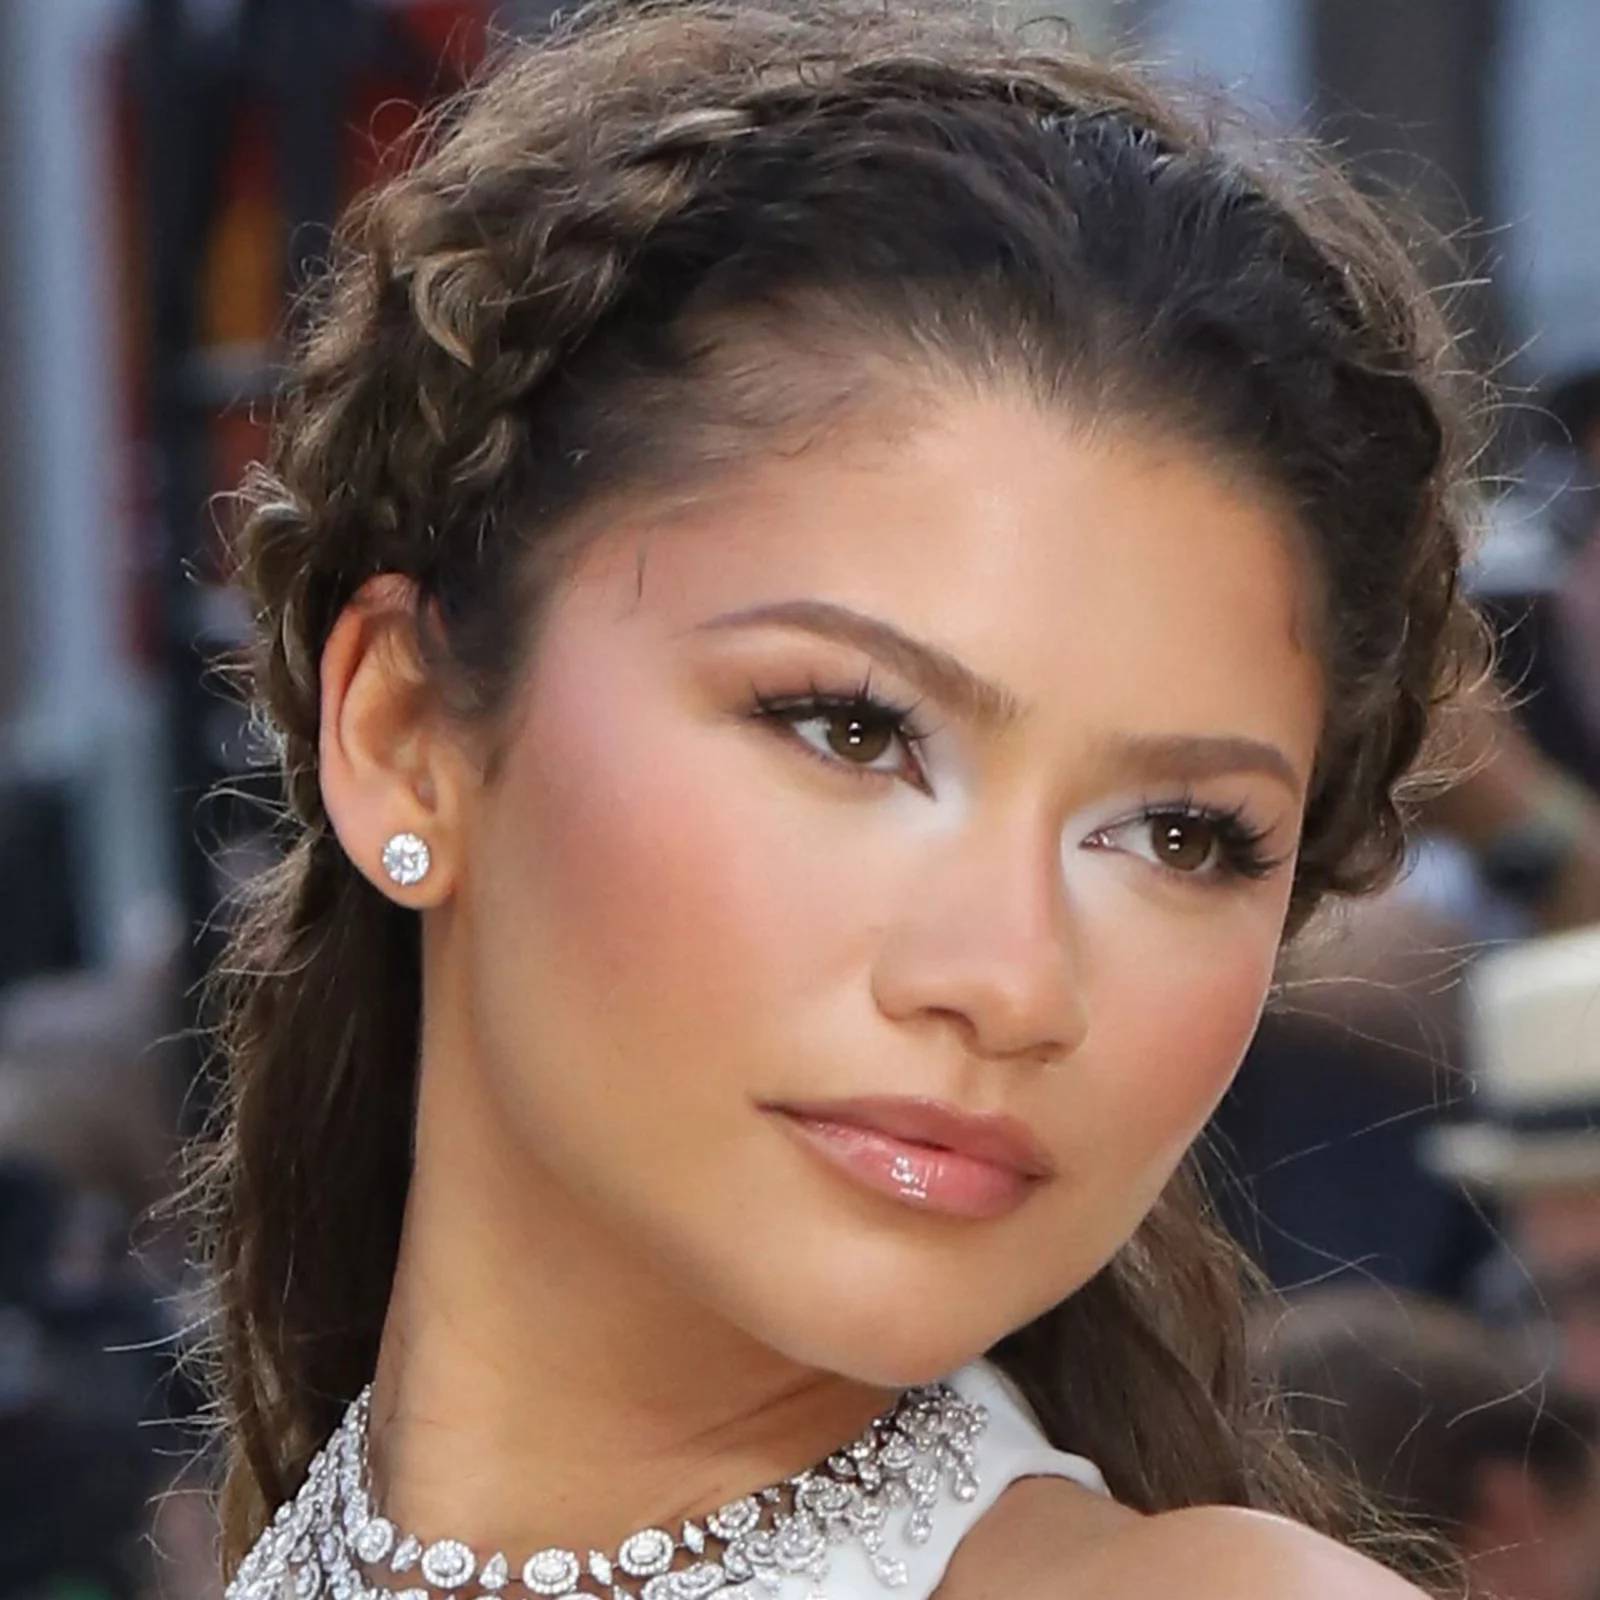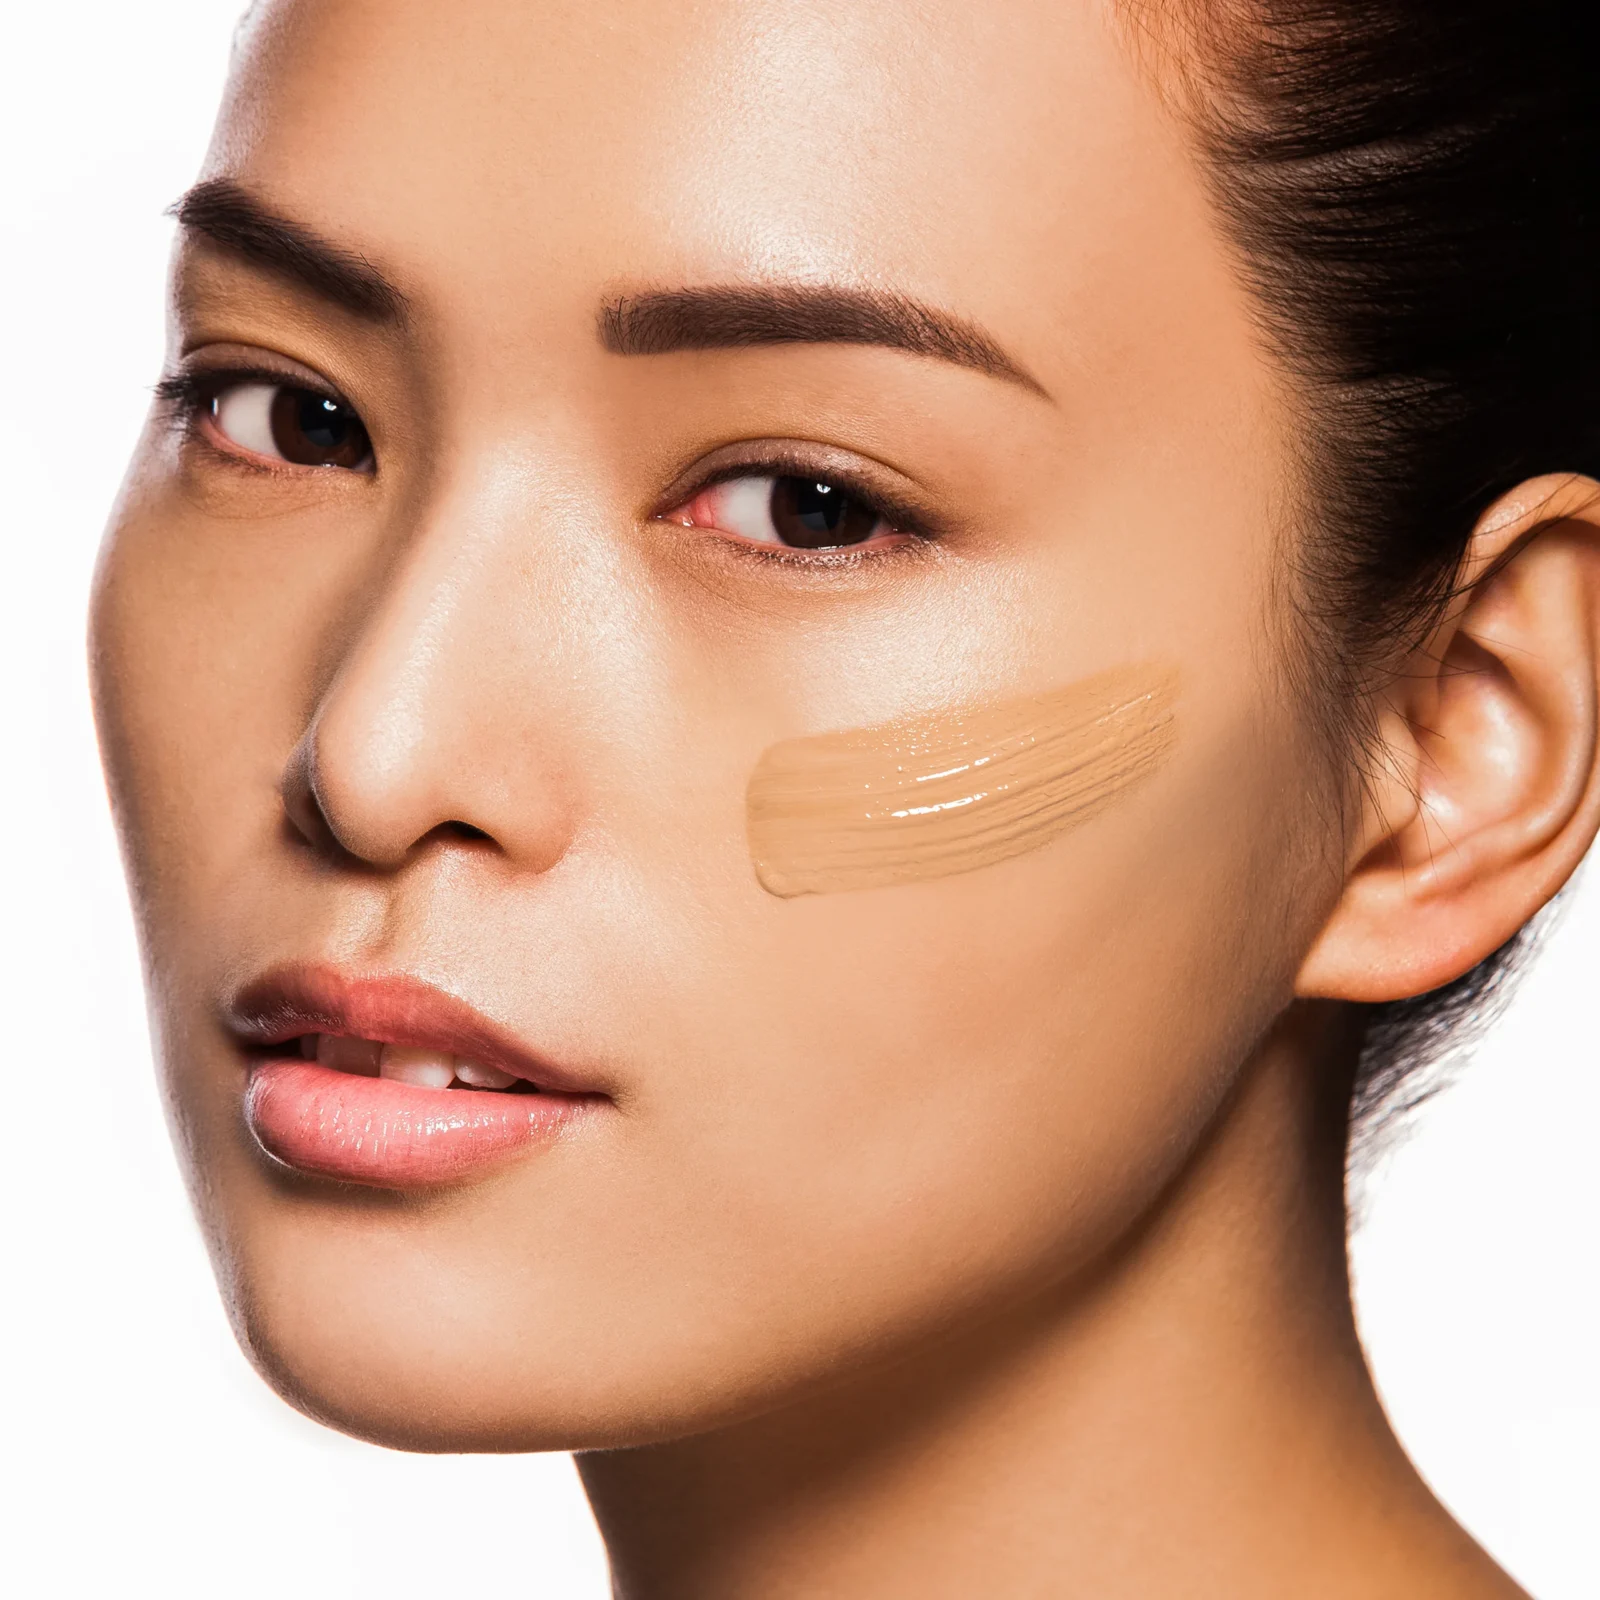


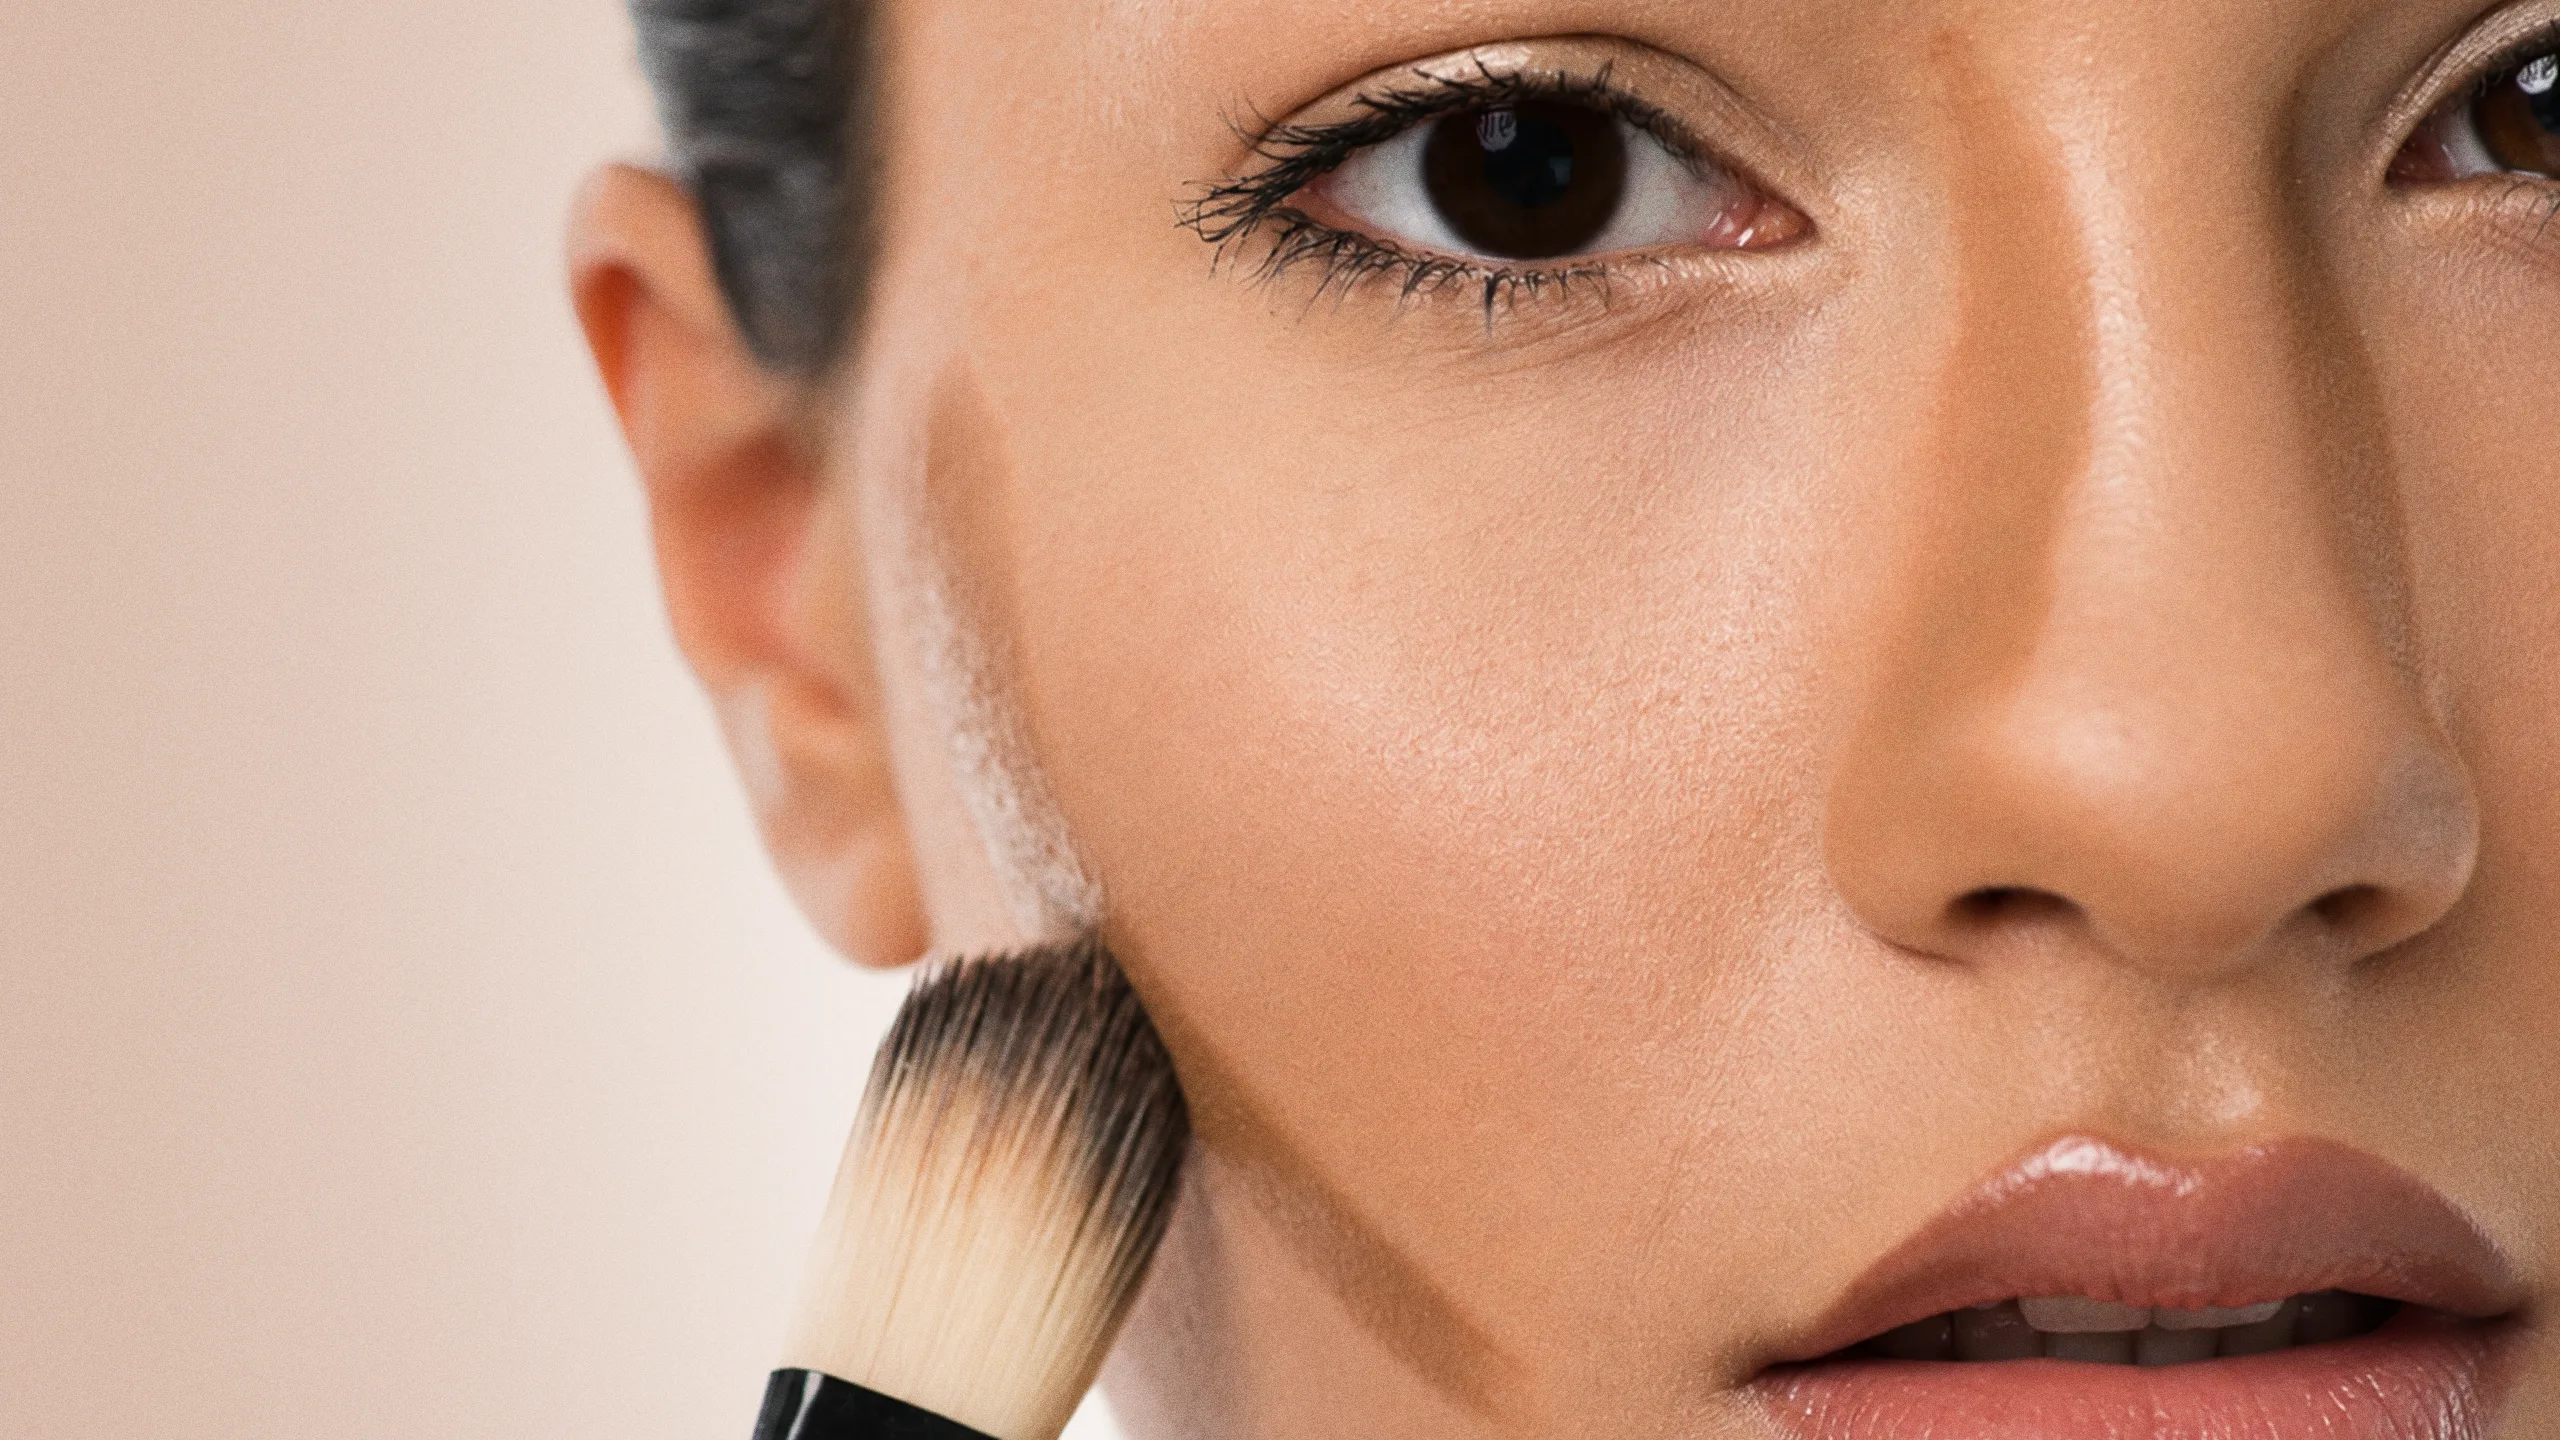
You may have seen those TikTok videos of people applying contourContourA makeup technique that uses a shade slightly deeper than your skin tone to add shadow and structure to the cheekbones, nose, and jawline. Blend carefully and choose an undertoneGo to Contour Glossary, highlight, and blush before foundation. You may have thought it was just another in a long line of viral makeup hacks dreamed up by Gen Z, but you would be wrong. This technique, known as underpainting, has been a staple of makeup artists for decades.
Los Angeles-based makeup artist Jill Powell, who counts Demi Lovato and Sabrina Carpenter among her clients, describes underpainting as a soft-focus filter for your makeup. “All the color goes on first, and then you apply this sheer layer of complexion that softens and blends everything out,” she explains. “I highly suggest you try this technique if you don’t know how to contourContourA makeup technique that uses a shade slightly deeper than your skin tone to add shadow and structure to the cheekbones, nose, and jawline. Blend carefully and choose an undertoneGo to Contour Glossary or are intimidated by it. You’ll get a soft shadow peeking through, but it won’t be very strong because of the veil of coverage over top.”
Think of it as a way to create dimension on the face before layering over it with extra coverage. You start with your contour, highlight, and blush colors, then do your foundation routine on top. “You get a much more natural effect by using this method,” says Los Angeles-based Jamie Greenberg, who works with Kaley Cuoco, Chelsea Handler, and Rashida Jones for the red carpet.
What You Need to Underpaint
Envato Images
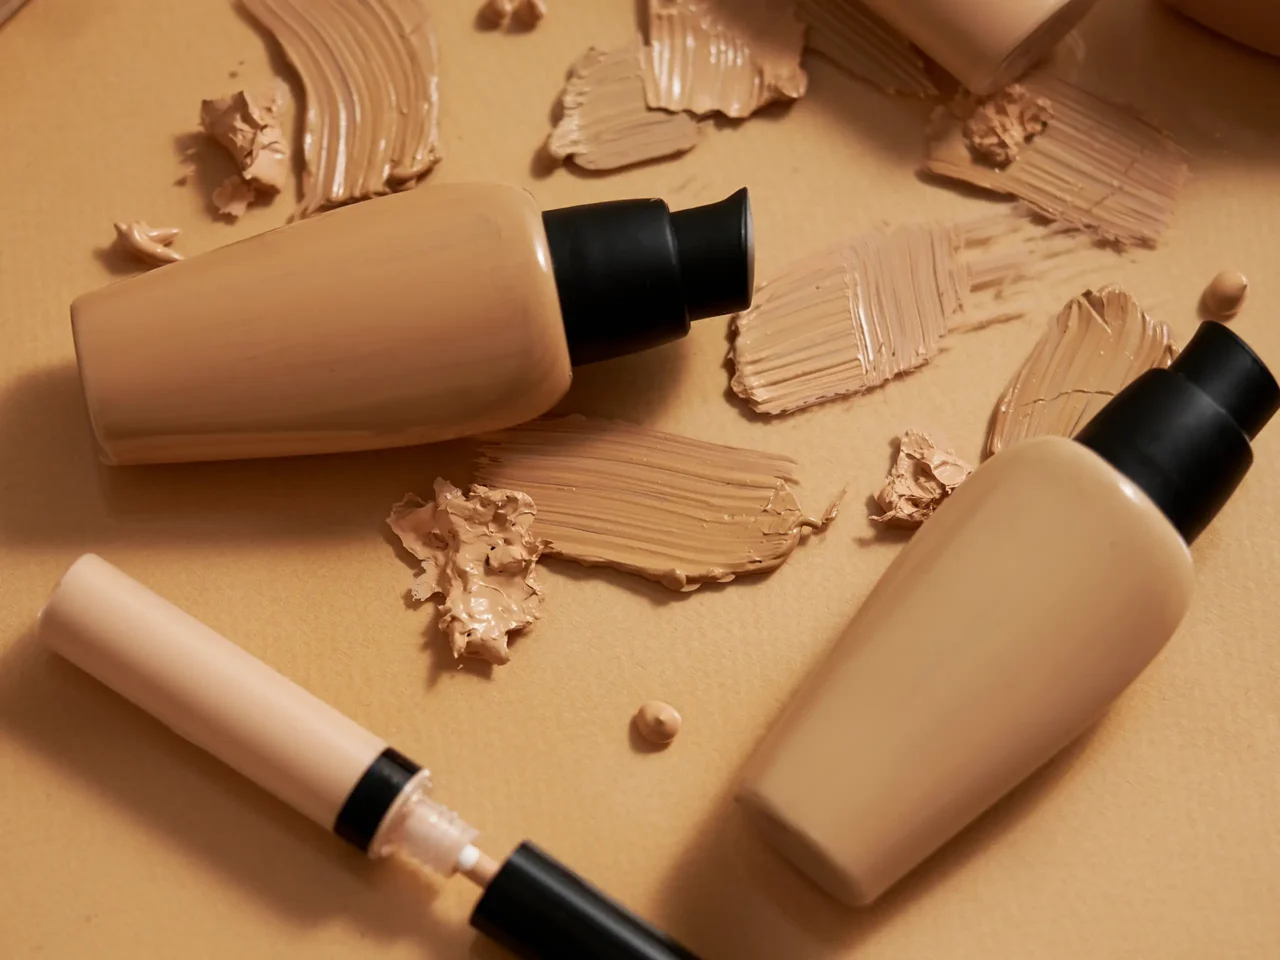
Underpainting requires many of the same tools you already have in your makeup stash. Basically, if you’re already contouring and highlighting—or wearing makeup at all for that matter—chances are you’re already well-equipped to carry this out.
Since the contrasting colors must be applied directly to the skin first, it’s important to be well-prepped and hydrated to avoid patchiness. “Depending on the client’s skin, I generally try to use a very hydrating moisturizer so the foundation lays beautifully on the skin and we get a glow,” says Los Angeles-based makeup artist Beau Nelson, who works with Kristen Stewart and Ashley Graham. Our suggestion? Try the POND’s Ultra Light Biome Gel.
After you prep your skin, you’re going to need a product to contour with, one to highlight, and also a blush. Greenberg, Powell, and Nelson all recommend using makeup products with creamy textures when underpainting because they’re easier to blend and deliver a second-skin-like finish.
Then there are brushes and blenders to consider. To apply the cream contourContourA makeup technique that uses a shade slightly deeper than your skin tone to add shadow and structure to the cheekbones, nose, and jawline. Blend carefully and choose an undertoneGo to Contour Glossary and blush, Nelson, Greenberg, and Powell use densely packed, synthetic brushes. We recommend the Tillo Kitsune T12 Precise Contour brush for contour and the Vice Cosmetics Diffuse & Blur Cheek Brush for blush.
“You want to match the brush size and shape with whatever you are doing,” says Powell, noting that you can pick up a smaller brush for precise contouring application and switch to a medium-size brush for the blush. “Always ensure the head of the brush is smaller than the area you are working on,” she advises.
Add your contour and highlight first
Envato Images
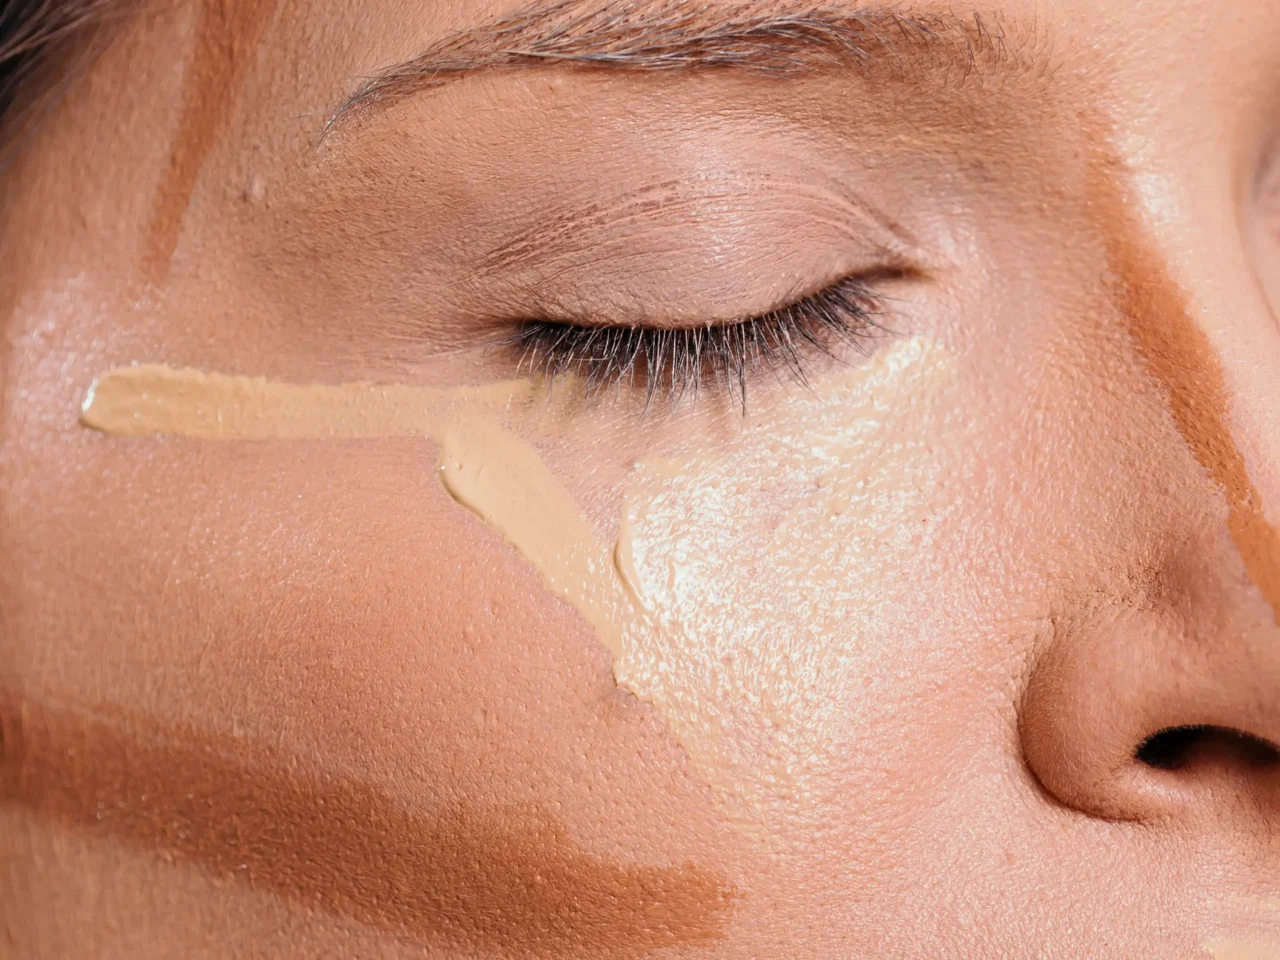
Now that you’ve got all your products in order, it’s time to apply them. Nelson says to start with contour before blush and highlighter. Nelson, Powell, and Greenberg all say they apply foundation all over the face with a Beautyblender after the blush, then they add a highlighter on top. You also have the option of adding the highlighter after the contour, as we see in this video Powell made about underpainting.
To create the contourContourA makeup technique that uses a shade slightly deeper than your skin tone to add shadow and structure to the cheekbones, nose, and jawline. Blend carefully and choose an undertoneGo to Contour Glossary, all the makeup artists say that they prefer to use cream bronzers because the texture lends a more natural, skin-like finish. Nelson likes to use MAC Pro Paintstick in Deep Brown. “It’s the perfect contour color for a range of light-to-medium skin tones. For deeper skin, I use dark brown shades from the Make Up For Ever Flash Palette,” says Nelson. Greenberg uses the Charlotte Tilbury Hollywood Contour Wand. Our favorites include the Strokes Beauty Lab Face Sculpt and the Fenty Beauty Match Stix Matte Contour Skinstick.
As for application, the motions you use can vary. In Powell’s underpainting tutorial, you see her carefully use a combination of patting and blending motions to buff the contourContourA makeup technique that uses a shade slightly deeper than your skin tone to add shadow and structure to the cheekbones, nose, and jawline. Blend carefully and choose an undertoneGo to Contour Glossary in with her fingers. She also uses a brush in circular motions to blend the rest.
For those who are cream-adverse, don’t fret. You can still do this technique with powders and get a similar effect. “You need to make sure that the skin is well-prepped if you’re using powders, but you can certainly apply all your contour, blush, and highlight first and then just top it off with a veil of powder foundation,” explains Powell. “It’ll give you the same lit-from-within look. If you have very oily skinOily SkinSkin that produces excess sebum, leading to shine, enlarged-looking pores, and a higher chance of breakouts. Oily skin still needs hydration, so lightweight gels, niacinamide, and oil-free sunscreen help balanceGo to Oily Skin Glossary, that could be an option for you.”
Greenberg agrees that a little powder won’t necessarily hurt. “I love adding powder highlighters to a cream face,” she says. Some of our favorite powder highlighters are the Detail Cosmetics Silk Touch Blurring Luminizer and the Rare Beauty Positive Light Silky Touch Highlighter.
How to layer on your foundation
Envato Images
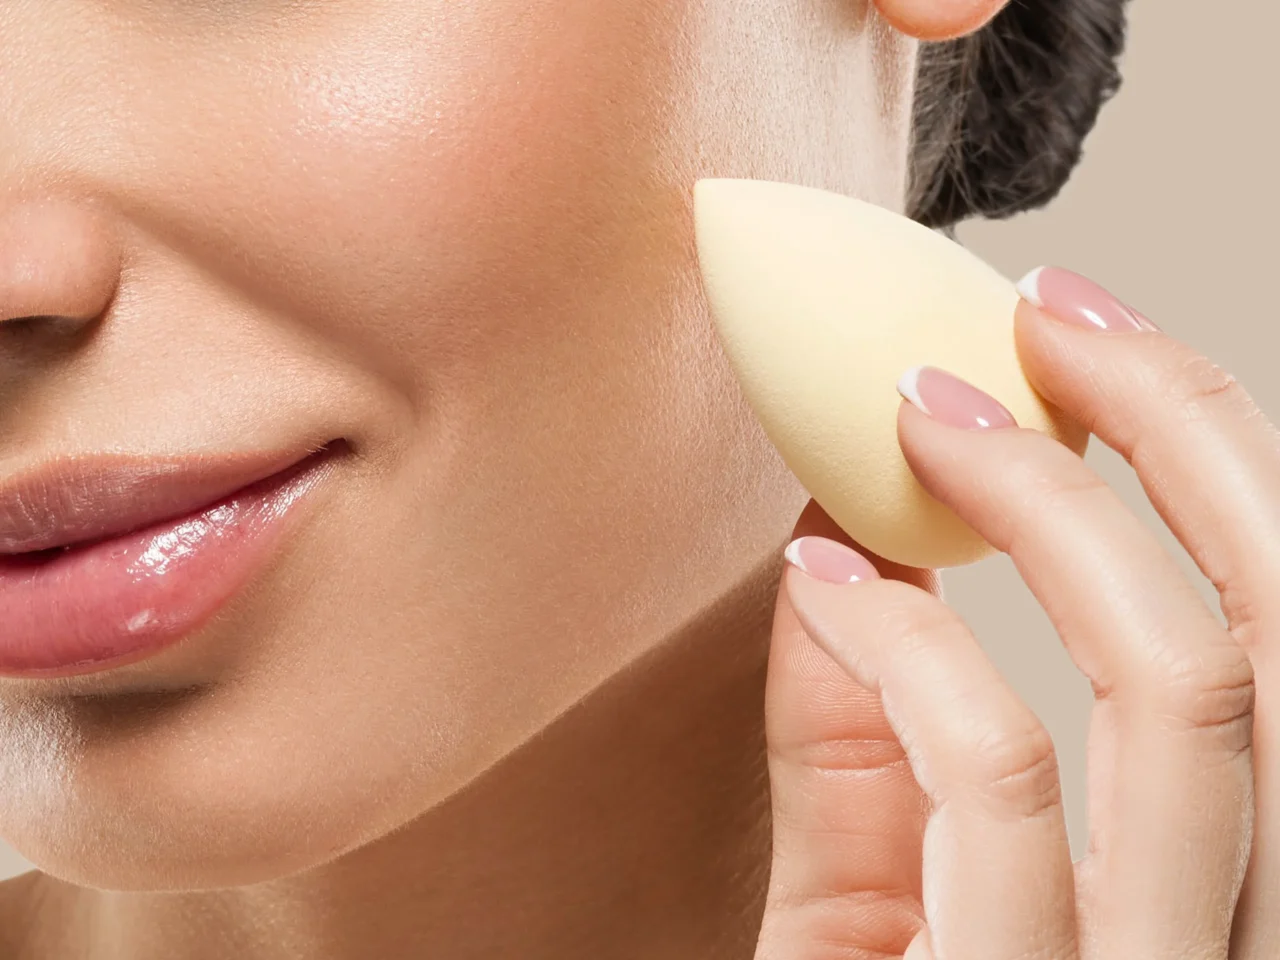
Once you have your contour, highlight, and blush laid down, it’s time for foundation. “My favorite thing to do is to use a dampened Beautyblender to bounce the foundation on top of the slightly blended color you’ve already laid down,” says Greenberg.
When you’re adding the foundation, you can also apply it with a brush, starting in the places that don’t have contourContourA makeup technique that uses a shade slightly deeper than your skin tone to add shadow and structure to the cheekbones, nose, and jawline. Blend carefully and choose an undertoneGo to Contour Glossary, making quick, swiping motions, then switch to a Beautyblender or makeup sponge to blend it all using quick, bouncing motions, buffing it out right into the contour you just created. Powell also prefers using a makeup sponge for this step to ensure that the foundation is applied lightly so the underlying color can peek through. For this reason, lighter-coverage foundations are your best bet for the most natural look. Try Nars Pure Radiant Tinted Moisturizer SPF 30 or the Sola Foundation Primer SPF50PA+++.
However, if you prefer more coverage, Powell suggests working in a series of thin layers. “Do a sheer layer of your foundation first to get that coverage going,” she advises. “Then underpaint your colors and apply a final layer of foundation over top, either with a really fluffy brush or a dampened Beautyblender to get a soft, airbrushed finish.”
Anyone can try this technique and nail it, according to Greenberg and Powell. “Putting on a stain blush or cream blush and topping it with a little tinted moisturizer looks great on anyone,” says Nelson. “However, this is definitely a more finished look, so if you don’t wear a lot of makeup, it’s probably not for you.”
See? Underpainting isn’t that complicated or scary after all, especially now that you’ve got the full tea on how to do it. Now go and have fun with it.